
How to Start a Motorcycle After Winter Storage
This post contains affiliate links. As an Amazon Associate, we earn from qualifying purchases.
To start a motorcycle after winter storage, you need a systematic inspection and preparation, not just a key turn. The process is an eight-step checklist: verify battery charge, check tire pressure and condition, inspect all fluid levels, look for leaks, test controls and lights, check the cooling system, and ensure the clutch disengages. Skipping the clutch check on a Harley-Davidson can leave it stuck in gear, and starting on old fuel can clog injectors within minutes.
That clutch warning is not a suggestion. It’s a specific caution from Harley-Davidson’s service manual for hydraulic clutch systems after extended parking. The bike can be in neutral, the key works, but the plates have bonded. You hit the starter and the bike lurches forward. A key step in how to start a motorcycle after winter storage is the manual’s simple fix: put it in gear and rock it back and forth before you ever touch the button.
What follows is the full walkthrough for how to start a motorcycle after winter storage, from the visual once-over to the first ride. This guide explains the mandatory checks, the one tool you need for a dead battery, and what to do when the engine cranks but does not fire.
Key Takeaways
- Check the clutch before starting — put the bike in gear and rock it to unbind hydraulic clutch plates, a mandatory Harley-Davidson step.
- Use a battery maintainer or tender as recommended by your motorcycle’s manufacturer.
- Inspect tires for flat spots and dry rot; pressure can drop over the cold winter months, leaving them dangerously soft.
- Verify all fluid levels are correct before cranking; low oil or coolant causes immediate damage on startup.
- Have a plan for old fuel; if you did not stabilize it, expect clogged jets or injectors and be ready to drain the system.
The 8-Step Pre-Start Inspection Checklist
Do not put the key in yet. Start here, with the bike cold and in a well-ventilated space. This is the difference between a smooth spring ride and a tow truck call.
1. Battery: Charge and Connect
The battery is the single biggest point of failure. If you used a maintainer like a Battery Tender, disconnect it and check the terminals are clean and tight. If you did not, the battery is likely dead. Do not crank it.
Common mistake: Jumping straight to a car battery for a jump start. The higher amperage can fry your bike’s electrical control module. Use a motorcycle-specific jump starter or a proper charger.
The owner’s manual is your source for the correct procedure. Sources differ on battery storage maintenance frequency: the Suzuki Address 110 manual says to recharge a stored battery once a month, while Harley-Davidson’s procedure implies use of a maintenance charger is sufficient. If your battery is dead, your first step is to properly charge the motorcycle battery.
2. Tires: Pressure and Condition
Tires lose air over winter. More critically, they can develop flat spots from sitting in one position and dry rot from temperature cycles.
- Pressure: Inflate to the pressure listed on the tire sidewall or in your owner’s manual. Do not guess.
- Condition: Look for cracks in the sidewall, punctures, or severe flat spots. Spin the wheel and look for bulges. A tire with dry rot feels hard and brittle.
3. Fluids: Oil, Coolant, Brake, and Clutch
Pop the caps and look. Do not just glance.
- Oil: Check the level via the sight glass or dipstick. It should be clear and amber, not milky (which indicates water contamination).
- Coolant: The reservoir should be between the min and max lines. Harley-Davidson specifies using only their Genuine Extended Life Antifreeze and Coolant to prevent damage.
- Brake/Clutch Fluid: Check the reservoir levels. The fluid should be clear, not dark or cloudy. Low clutch fluid can cause the disengagement issue warned about earlier.
4. Leak Check: Look Underneath
Get a flashlight. Look for fresh drips or stains under the engine, forks, shock absorbers, and brake calipers. Check for any fuel, oil, coolant, or brake fluid leaks. A small weep might be condensation; a steady drip is a problem.
5. Controls: Brakes, Throttle, Clutch, Shifter
Sit on the bike. Operate each control through its full range.
- Squeeze the front brake lever and press the rear brake pedal. They should feel firm, not spongy.
- Twist the throttle. It should snap back closed smoothly.
- Pull the clutch lever. Feel for consistent resistance.
- Shift through the gears (with the clutch in). It should click positively into each position.
6. Steering and Chassis
Lift the front wheel off the ground or have a helper hold the bike. Turn the handlebars lock-to-lock. The motion should be smooth with no binding or gritty feeling. Check that the steering head bearings are not loose.
7. Electrical System: Lights and Horn
Turn the key on. Do not start the engine.
- Test the headlight (high and low beam), taillight, brake light, and turn signals.
- Press the horn button.
- Check that all indicator lights on the dash illuminate.
8. The Critical Clutch Disengagement Check
For bikes with a hydraulic clutch, especially Harleys, this step is essential.
Where this goes sideways: The clutch plates can stick together after months of inactivity. If you start the engine in gear with a stuck clutch, the bike will lunge forward uncontrollably.
Here is the fix from the Harley-Davidson service manual: place the transmission in gear. Then, push the motorcycle back and forth several times. You should feel the clutch plates “pop” free. Now you can return it to neutral.
Priming the Engine Before You Crank
The oil has drained from the top end of your engine back into the sump. Starting it dry causes metal-on-metal wear in the first few seconds. You need to get oil flowing.
For most modern fuel-injected bikes:
- Turn the key to the “ON” position. You will hear the fuel pump whir for a few seconds as it pressurizes the system.
- Do NOT touch the throttle. The computer will set the correct air/fuel mixture.
- With the bike still in neutral, pull the clutch lever in.
- Press the starter button for no more than five seconds at a time, as specified in the Suzuki manual. If it does not start, wait 10 seconds between attempts.
For carbureted bikes:
- Turn the fuel petcock to “ON” or “PRI” (prime).
- If the bike has a choke, set it to the full “ON” position.
- With the ignition off, crank the engine over a few times using the starter (with the kill switch off) to pull fuel into the carburetor bowls.
- Now, turn the ignition on and start as normal. It may take a few more cranks to start.
What to Do When It Starts (And When It Won’t)
If it starts:
Let it idle. Do not rev the engine. Your goal is to bring it up to normal operating temperature so the thermostat opens and the coolant circulates. Watch the temperature gauge. Listen for any unusual knocks or rattles. Once warm, turn it off and re-check the oil level, as it may have dropped slightly as it circulated.
If it cranks but won’t start:
This is the most common post-storage problem. Run through this diagnostic tree.
| Symptom | Likely Cause | Immediate Action |
|---|---|---|
| Cranks strong, no fire | No fuel or no spark | Check kill switch, then listen for fuel pump prime. |
| Cranks weak, clicks | Dead battery | Stop cranking. Jump start the motorcycle or use a charger. |
| Starts then dies | Old/bad fuel, clogged pilot jet | This is a fuel issue. You may need to drain the tank and carb/injectors. |
| Backfire through carb | Improper fuel/air (carbureted) | Check that the choke is set correctly. |
The fuel problem deserves its own section. If you did not use a fuel stabilizer in a full tank, the gasoline has likely degraded. Ethanol-blended fuel absorbs water and separates over months, leaving a varnish that clogs small passages.
- Fuel-injected bikes: The injectors can clog. You may need to add fresh fuel and a fuel system cleaner to the tank.
- Carbureted bikes: The pilot jets are almost certainly clogged. You will likely need to remove and clean the carburetors.
If you face persistent motorcycle won’t start troubleshooting when figuring out how to start a motorcycle after winter storage, the issue often traces back to fuel or a weak spark from fouled plugs.
The First Ride: Keep It Short and Simple
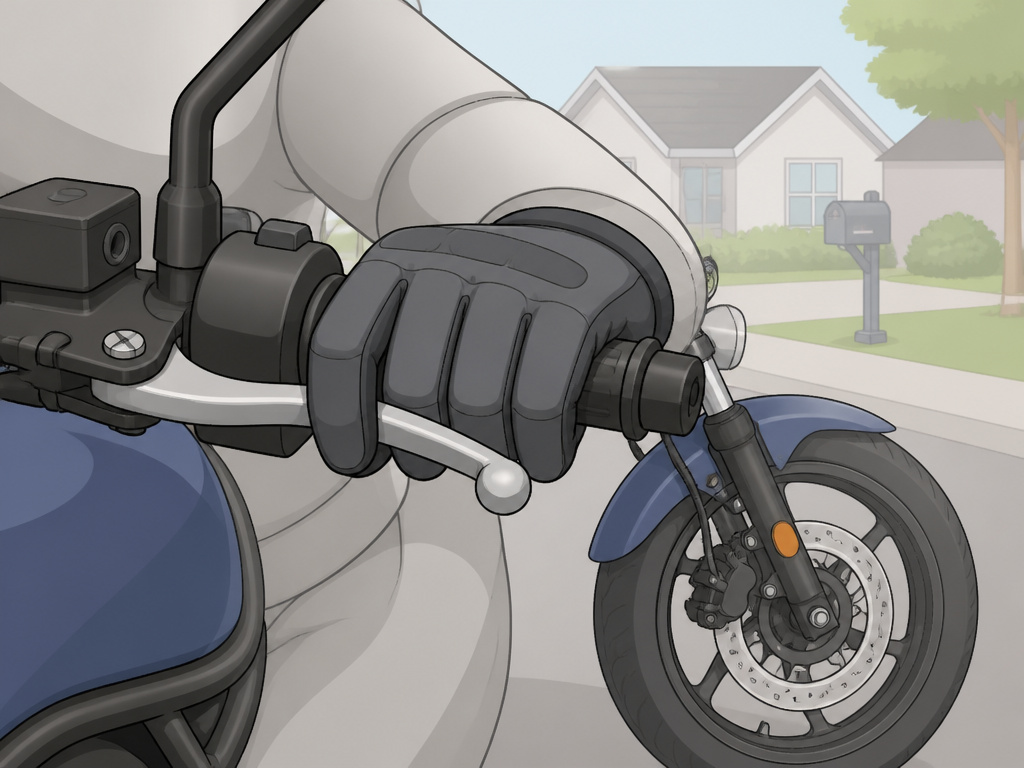
Your bike is running. Do not just hit the highway.
- Final Safety Check: Perform a last visual for leaks that may have appeared once the fluids warmed up and circulated.
- Test the Brakes: At walking speed in a safe area, gently apply the front and rear brakes separately to ensure they are gripping.
- Take a Short Loop: Ride around your neighborhood for 10-15 minutes. Vary the engine speed, use the brakes, and test the transmission through the gears. Listen and feel for anything abnormal.
- Post-Ride Inspection: When you return, check fluid levels again and look for new leaks. Feel the wheel hubs; they should be warm, not hot (indicating a dragging brake).
How to check your motorcycle air filter
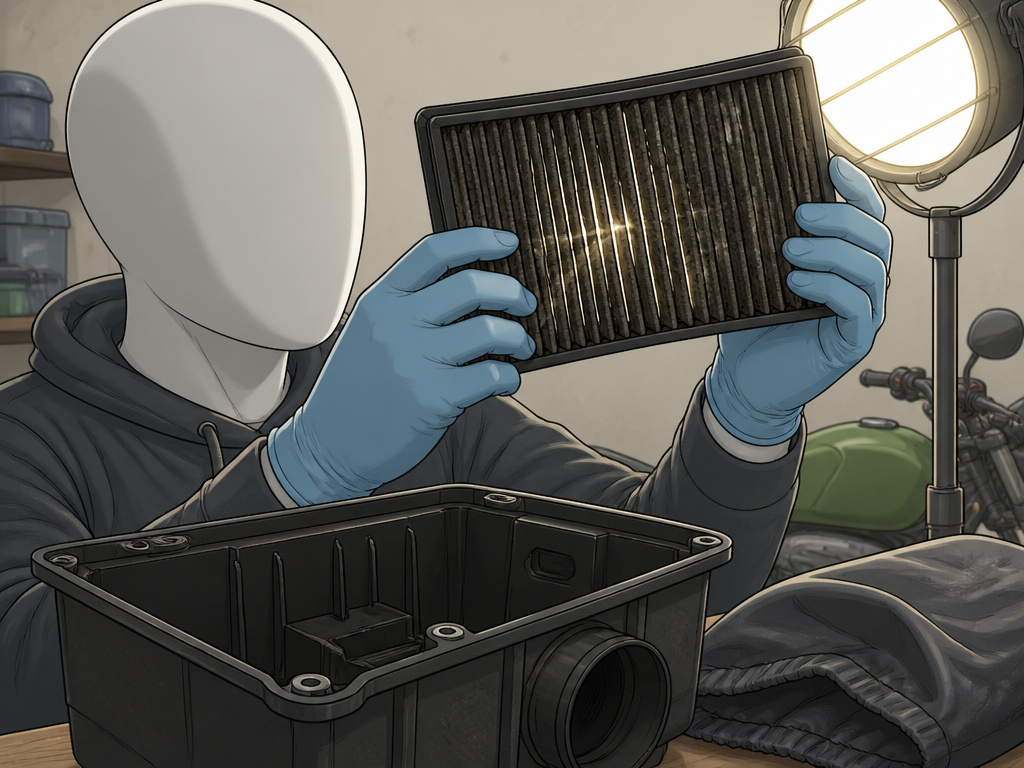
A clogged air filter can choke your engine, making it run poorly or not start at all. After sitting all winter, the filter may have collected moisture or debris. Start by locating the airbox, which is usually under the seat or behind a side cover. Open the airbox and remove the filter. Hold it up to a light source. If you can’t see light through the filter material, it’s too dirty and needs to be cleaned or replaced. Check the airbox interior for any signs of rodent nests or debris and clean it out before reinstalling the filter. Always use a replacement part recommended for your specific motorcycle.
Frequently Asked Questions
Can I start my motorcycle after 6 months of storage?
Yes, but only after completing the full inspection checklist. The battery will be dead if not maintained, the tires will be low, and the fuel is likely stale. Attempting to start it without preparation risks damage to the engine, electrical system, and fuel system.
What if I didn’t put fuel stabilizer in before winter?
You will probably have starting problems. The best course is to drain the old fuel from the tank and the fuel lines completely. For carbureted bikes, you must also drain the carburetor float bowls. Refill with fresh gasoline.
How do I know if my battery is still good?
Fully charged battery should read a healthy voltage with a multimeter. If it reads a low voltage, it needs a charge. If it will not hold a charge after being properly charged, it is dead and needs replacement. A battery tender is the best way to maintain a battery over the winter.
Should I change the oil before or after storage?
Harley-Davidson recommends warming the motorcycle to operating temperature, changing the oil, and running the engine to circulate the new oil as part of storage preparation. This removes acidic contaminants that can corrode engine internals over the winter. If you did not do this, change the oil immediately after your first start and warm-up, as the oil will have collected any moisture that condensed during storage.
Before You Go
The clutch check is the step most riders skip, and it is the one that can cause a garage accident. Rock the bike in gear. Every time.
If your winter storage preparation was thorough, this spring wake-up is straightforward. If it was not, you are now doing the maintenance you deferred. Either way, the checklist does not change. Do not let the excitement of the first ride tempt you to shortcut the inspection. A 20-minute check is cheaper than a repair bill. Now go ride.
