
How to Keep Cool in a Motorcycle Helmet in Summer
This post contains affiliate links. As an Amazon Associate, we earn from qualifying purchases.
To keep cool in a motorcycle helmet in summer, you must manage three heat sources: your body, the sun, and the engine. The comfortable thermal condition for your head is around 34.5°C (94°F), but a helmet interior can hit 50°C (122°F) on a sunny, windless day. Effective cooling combines a well-ventilated helmet, strategic hydration (1-1.5 quarts per hour above 100°F), and external aids like cooling vests or pre-chilled helmet liners.
That 15.5-degree gap between comfort and reality is where rides get miserable and decision-making slips. The physics are simple: your body generates metabolic heat, the sun radiates more onto the shell, and still air traps it all inside. You are essentially wearing a personal greenhouse, which is why knowing how to keep cool in a motorcycle helmet in summer is critical.
What follows is not a list of obvious tips. It’s a breakdown of the mechanics, the OEM warnings most riders miss, and the data on what actually works, from a 2011 thermal science paper to the conflicting storage limits in your helmet’s own manual, all centered on the how to keep cool in a motorcycle helmet in summer question. This guide explains helmet choice, on-bike strategy, and the gear that makes a difference.
Key Takeaways
- Interior temperatures can hit 50°C (122°F) under a helmet on a sunny, windless day, well above the 34.5°C comfort zone.
- Wind stops cooling you around 97°F; above that, you’re being heated, not cooled, by airflow.
- Hydration needs jump to 1-1.5 quarts per hour in 100-110°F heat, with electrolytes required for rides over two hours.
- Storage heat damages helmets: OGK Kabuto says never above 50°C, while Bell warns against 150°F (≈65.6°C), a major conflict.
- Phase Change Material (PCM) cooling in studies only extended comfort by about 21.5 minutes, showing the limits of high-tech fixes.
The Core Problem: When Your Helmet Turns Into a Sauna
That’s 122°F. So a hot helmet isn’t just uncomfortable; it’s a low-grade cooking appliance strapped to your head. The heat comes from three places: your body’s own metabolic output (about 10-12 watts), solar radiation baking the shell, and hot engine air rising around you at a stop.
The experimental study indicated that the heat generation from the head is the predominant factor that will affect PCM melting time. Simulated solar radiation and wind speed under adiabatic condition can have very little influences.
The study’s finding is critical to the how to keep cool in a motorcycle helmet in summer: under adiabatic conditions, simulated solar radiation and wind speed can have very little influence on PCM melting time compared to heat generation from the head. This is why passive solutions like cracking a visor only go so far. You need a system that addresses internal heat generation and external heat loading simultaneously.
| Heat Source | Contribution | Primary Mitigation |
|---|---|---|
| Body Metabolism | ~10-12 Watts; raises interior temp | Moisture-wicking liners, active cooling, hydration |
| Solar Radiation | Heats shell, radiates inward | Light-colored helmet, sun shade, reflective tape |
| Ambient/Engine Air | Conducts heat at stops, reduces cooling effect of wind above 97°F | Moving air (riding), cooling vest, strategic stops |
Step 1: Start With a Helmet That Breathes
Not all vents are created equal. A marketing photo showing six holes means nothing if the internal channels are blocked by padding or don’t direct air over your scalp. Look for a helmet with a named, multi-stage ventilation system like the Schuberth E2.
The Schuberth E2, for example, has a three-stage adjustable ventilation system on top with channels that direct air to the head. Its manual notes the system includes summer and winter adjustment flaps on the head pad, you lift the pad and fold out fabric to block or divert cold air in winter. That’s a designed solution, not an afterthought.
Brands like Bell and OGK Kabuto build similar ram-air systems. The key is internal channeling. You can test this in a store: feel inside the helmet for the air pathways. If your fingers hit solid foam immediately behind a vent, that vent is mostly for show.
Common mistake: Buying a helmet for its graphic or brand name without checking how the vents line up with your head. A vent that blows air onto your forehead but misses the crown does nothing for overall cooling.
Fit is the other half. A tight helmet restricts blood flow and worsens hot spots; a loose one allows hot air to circulate without being removed. The sweet spot is snug without pressure points, cheek pads should be firm, but the crown should have even contact.
For a deep dive on designs, see our guide to the latest hot weather helmets and a separate explanation of how helmet ventilation systems are tested.
Step 2: Master Your Helmet’s Ventilation
Opening all the vents seems logical. But sometimes, more airflow is the wrong move. The OGK Kabuto manual has a specific, dangerous-edge-case warning: “In case of sudden rain, immediately after entering a tunnel or in a place with a large difference in height such as a mountain path cause difference in temperature between inside and outside of the helmet, adjust the ventilation before entering such a place. Operating the ventilation while riding is very dangerous.”
Why? If you blast cold, outside air into a warm, humid helmet interior, you get instant fogging. Suddenly you’re blind in a tunnel or on a mountain curve. The manual’s advice is to pre-emptively close or open vents based on the coming environmental shift, not to fiddle while riding.
This is the fog vs. Ventilation trade-off in practice. Schuberth’s manual suggests adjusting ventilation for conditions, while OGK Kabuto’s manual warns that operating the ventilation while riding is very dangerous and advises adjusting it before entering areas with sudden temperature changes.
Your ventilation checklist:
- Before a ride: Check the weather. Humid? Plan to use the anti-fog insert. Heading into mountains? Pre-set vents for the temperature drop.
- At a stop: Open the visor fully. This is when radiant heat from the sun and engine is worst. Let the hot, stagnant air out.
- In moving traffic: Use the top vents first. They exhaust the hottest air rising off your head. Chin vents are for face cooling, not core cooling.
- In rain or tunnels: Close the face shield vent and consider closing top vents before you enter, per the OGK warning.
Step 3: Support Your Helmet With the Right Gear
Your helmet is the top of a cooling stack. What you wear underneath and around it dictates whether that stack works or fails. A moisture-wicking helmet liner or balaclava is the first layer. It pulls sweat away from your skin into the helmet’s padding, where evaporating air can carry it off. Cotton is the enemy here, it holds moisture against your skin and turns clammy.
The next layer is your neck. A cooling tube or evaporative neck gaiter soaked in cold water does two jobs: it cools the carotid arteries, lowering blood temperature to your brain, and it creates a cooler air barrier that gets pulled into the helmet through the chin bar. This is a low-cost, high-impact move.
For a full system view, our guide on how to dress for summer lays out the layer-by-layer approach.
| Gear Layer | Hot Weather Pick | Why It Works |
|---|---|---|
| Head Base Layer | Synthetic or wool helmet liner | Wicks sweat, prevents salt-burn, aids evaporation |
| Neck | Evaporative cooling tube | Cools blood, pre-cools intake air |
| Torso | Mesh jacket + light-colored base layer | Maximizes evaporative surface area, reflects sun |
| Hydration | Hydration pack with electrolyte mix | Enables drinking without stopping, replaces lost salts |
Step 4: Hydrate Like It’s Your Job
When the heat index exceeds 95°F, riding becomes dangerous. The Harley-Davidson Insurance guide states that motorcyclists can lose up to 1.5 quarts of fluid per hour in extreme heat. Two percent dehydration impairs reaction times. This isn’t about comfort; it’s about maintaining the cognitive ability to operate a vehicle.
Their graduated hydration system is specific:
- 90-100°F: Aim for 16-24 ounces hourly.
- 100-110°F: Drink 1-1.5 quarts per hour with electrolytes.
- Above 110°F: You may need 1.5 quarts per hour.
Plain water is fine for short rides. For anything over two hours in heat, you need electrolytes. Sodium, potassium, and magnesium are lost in sweat, and replacing them with pure water can lead to hyponatremia, dangerously low sodium. Use tablets or powder in your hydration pack.
Where this goes sideways: Drinking only when you’re thirsty. Thirst signals lag behind actual fluid loss. By the time you feel parched, your decision-making is already compromised. Set a timer on your bike’s dash: take a drink every 15-20 minutes in extreme heat.
Step 5: Use External Cooling Before and During the Ride
Sometimes you need to cheat physics. Low-tech tricks work. Storing your helmet in a cool, air-conditioned room before a ride is obvious. But for a real boost, some riders put their helmet liner in a plastic bag in the fridge for 10-15 minutes before heading out. Don’t freeze it, condensation will be a problem. A cool rinse of the liner under the tap also works.
High-tech solutions exist, but with caveats. The Thermal Science study tested Phase Change Material (PCM) pouches inside a helmet. The cooling period under test conditions was only extended to about 21.5 minutes. The study concluded that to get two hours of cooling, you’d need about 1500 cm³ of PCM, adding significant weight and bulk. The user should be able to quickly and easily replace the pouches with fresh PCM every 2 hours.
This highlights the gap between lab prototypes and real riding. Commercially available cooling vests are a more practical active solution. The Harley-Davidson guide notes advanced cooling vests may reduce body temperature by up to 15°C and provide 2-8 hours of relief. Evaporative vests use only 500ml of water for 1-3 days of cooling. By cooling your core, they reduce the heat load your head has to deal with. Research into more integrated systems, like those using Peltier cells, is ongoing, as noted in an IOP Science helmet cooling study.
Step 6: Know When to Stop and How to Recover
Heat illness creeps up. The first sign is often not sweating, it’s a change in the quality of your sweat, or a sudden lack of it. Other warnings: dizziness, nausea, confusion, and muscle cramps. If you experience any of these, your ride is over. Get to shade, drink cool water, and pour water on your head, neck, and wrists.
Your bike needs breaks too. In summer traffic, airflow stops. The Harley-Davidson guide warns: When temperatures exceed 220°F, find shade and let the engine cool before continuing. Plan your route to avoid peak heat (11 AM to 3 PM) and known traffic choke points. A 20-30 degree temperature reduction is possible by riding at dawn or dusk.
The Limits and Dangers of Heat
Manufacturers disagree on a critical safety point: how much heat a helmet can take off your head. The OGK Kabuto manual states: “Do not leave the helmet in direct heat above 50ºC e.g. Next to a heater or under direct sunlight in a car.” The Bell Helmets manual warns: “Exposure to temperatures in excess of 150 degrees F (≈65.6°C) can cause damage, resulting in a loss of protection.”
That’s a 15-degree Celsius difference in their stated limits. Who’s right? Both are being conservative, but the 50°C (122°F) threshold is easily exceeded in a car on a summer day. The safer rule is the stricter one: never let your helmet bake. The polymer shells and EPS liners can degrade, and the glue holding interior pads can fail. Once a helmet’s structural integrity is compromised, it’s a decorative item, not protective gear.
Similarly, Schuberth warns that direct contact with motor fuel, thinners or solvents can destroy the structure of the inner and outer shell. And benzine, solvent and fuel vapor can cause cracks in the visor. Your summer cleanup ritual matters. Use only mild soap and water, never harsh chemicals.
Recognizing heat illness symptoms
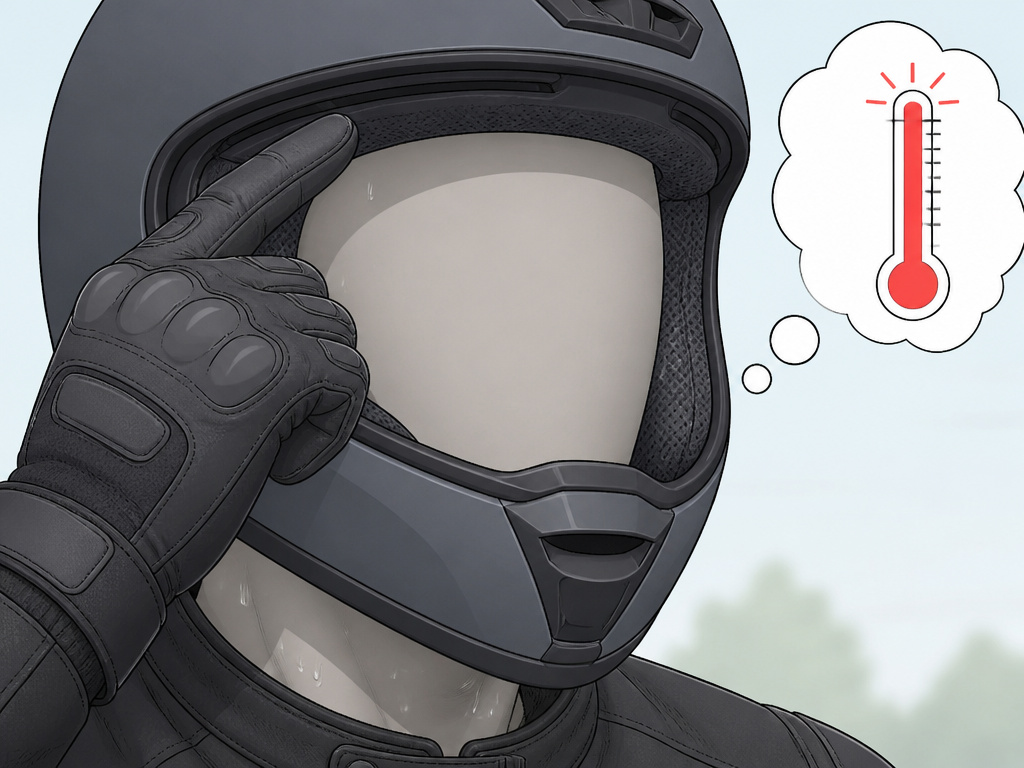
Your body can overheat long before you feel thirsty. In extreme heat, motorcyclists can lose a large amount of fluid per hour. Even a small amount of dehydration can impair your reaction times and decision-making skills. When the heat index climbs, pay attention to your body. Early signs include headache, dizziness, and excessive sweating or a lack of sweat. Confusion, nausea, and a rapid pulse are serious warnings. If you experience any of these, stop riding immediately. Find shade, drink water with electrolytes, and cool down. Continuing to ride in that state is dangerous.
Frequently Asked Questions
What are the best motorcycle helmets for staying cool in hot weather?
Look for models with multi-stage, internally channeled ventilation systems, like the Schuberth E2 or helmets from Bell’s Star Series. The key is verified airflow, not vent count. Light colors (white, silver) reflect more solar radiation than dark ones. The best helmet fits you perfectly, because a correct fit makes sure vents line up properly and pads draw moisture away effectively.
Is 100 degrees too hot to ride a motorcycle?
According to the Harley-Davidson Insurance guide, heat index values above 95°F significantly increase risk, and extreme caution is required above 110°F. At 100°F, the cooling effect of wind is nearly gone, and you must adopt maximum hydration and cooling strategies. It’s not inherently “too hot,” but it shifts riding from a leisure activity to a serious logistical and safety challenge.
What is the 12 second rule on a motorcycle?
The 12-second rule is a visual lead-time guideline for maintaining a safe following distance. It’s unrelated to heat management. For heat, a more relevant rule is the “2-hour electrolyte” rule: on any ride longer than two hours in extreme heat conditions, you must supplement water with electrolytes to prevent dangerous sodium depletion.
What is the 222 rule for helmets?
The 222 rule is a fitting guideline: a new helmet should be 2 finger-widths tight (snug on the cheeks), you should be able to fit 2 fingers under a properly fastened chinstrap, and the helmet shouldn’t move more than 2 inches in any direction when you grasp the chin bar and twist. A fit that meets the 222 rule is the foundation of any cooling strategy.
Before You Go
One rule cuts through all the gear and techniques: if you’re thinking more about your own discomfort than the road, you’re done. Heat impairment feels like fatigue or distraction long before it becomes dizziness. Your helmet’s job is protection, not suffering.
The data gives us clear thresholds. The comfort zone is 34.5°C. The danger zone for helmet storage starts at 50°C. The hydration requirement jumps at 100°F. Use those numbers, not just your feelings.
Finally, your helmet is part of a system. Pair it with the right summer gear, a solid cooling strategy, and a moisture-managing helmet liner. Test your setup on a short, hot ride before a long tour. What works for a 30-minute commute can fail utterly on a three-hour highway slog. Know your limits, respect the data, and the ride stays fun.
