
How to Fix Pressure Points in a Motorcycle Helmet
This post contains affiliate links. As an Amazon Associate, we earn from qualifying purchases.
To fix pressure points in a motorcycle helmet, first diagnose if it’s a shape mismatch or a fit issue. Pressure on the forehead means the helmet is too round for your head; pressure on the sides means it’s too oval. If the shape is correct, use manufacturer adjustments like the A-HEAD top pad, swap cheek pads, or add specialized liners. Never modify the helmet’s internal EPS foam.
That diagnosis is the whole game. A pressure point isn’t just an annoyance, it’s a sign the helmet’s energy-absorbing liner isn’t making full contact with your skull. In a crash, that gap means less protection. Understanding how to fix pressure points in a motorcycle helmet is therefore critical.
What follows is a step-by-step walkthrough of the how to fix pressure points in a motorcycle helmet question: a diagnostic test, your manufacturer-approved adjustment options, the safe way to add material, and the clear line where you stop fixing and buy a different helmet.
Key Takeaways
- Pressure on the forehead or temples signals a head shape mismatch, not a size problem. The NHTSA notes forehead pressure means the helmet is too round for you.
- Always try the manufacturer’s fit system first, like the Superttech R7‘s A-HEAD top pad, before adding or removing any material yourself.
- Never shave or modify the EPS foam liner. This compromises the helmet’s single-impact safety structure and voids all certifications.
- A proper helmet break-in process takes about 30-45 minutes of wear to reveal subtle pressure points that aren’t immediately obvious.
- If adjustments fail, a specialized helmet liner designed for pressure relief is a safer, reversible fix than DIY padding modifications.
The 3-Step Diagnostic Walk (Shape vs. Size)
Before you touch a pad or reach for a tool, figure out what you’re actually dealing with. There are only two causes: wrong head shape or wrong fit. The symptoms are different, and the fix for one makes the other worse.
Step 1: Map the pain. Put the helmet on and fasten the strap. Don’t just stand there, move your head. Look left and right, up and down. Where is the pressure? Is it a focused hot spot or a broad, even squeeze?
Common mistake: Judging fit in the first two minutes. Subtle pressure points take time to announce themselves. The NHTSA advises wearing a new helmet for 30 to 45 minutes before a ride to check for them.
Step 2: The shape test. This is the critical move. According to the NHTSA, pressure points on the forehead indicate the helmet is too round for your head. Pressure on the sides of your head, near the temples, means the helmet is too oval. This is a fundamental geometry problem. No amount of sizing up or padding swap will fix it if the shell’s internal shape doesn’t match your skull.
Step 3: The size test. A correctly sized helmet should be a little tight with even pressure all around. Try this: with the strap secured, grab the helmet at the back and try to roll it forward off your head. If it moves easily, it’s too big. If it doesn’t move but creates sharp pain in one or two spots, you likely have a shape issue, not a size issue. Our guide on how to tell if a motorcycle helmet is too small dives deeper into the specific symptoms of a tight helmet.
Step 1: Adjust What the Manufacturer Allows
Your helmet’s manual isn’t just warranty filler. It contains the blueprint for its adjustable fit systems. This is always your first and safest line of attack.
For Forehead Pressure: The A-HEAD Top Pad Example
Some helmets, like the Superttech R7, build in sophisticated adjustment. The A-HEAD system allows adjustment of the top pad height at four mounting points (two front, two rear) across three positions.
The manual gives a precise recipe. For forehead pressure: clip both front leg connectors to height level position 2. If it persists, move the rear connectors to position 2 and the front connectors to position 3. The manual includes a crucial rule: the height difference between the four mounting points is never more than one adjustment height level position.
The A-HEAD top pad on the Superttech R7 is adjustable between three height level positions. For forehead pressure, clip the front legs to position 2; if the problem persists, set the rear to position 2 and the front to position 3.
This isn’t a generic tip. It’s a model-specific procedure that shows how OEMs intend for fit to be fine-tuned. The manual also warns to never use the helmet with the top pad removed and to ensure both the top pad and neck pad are well-fixed before riding.
Cheek Pads and Crown Liners
For pressure on your cheeks or the crown of your head, your first move is to check if your helmet came with interchangeable pads. Swapping to a thinner or thicker cheek pad kit is a standard fix. The process is simple and outlined in our tutorial on how to replace motorcycle helmet cheek pads.
The Gentex HGU-84/P includes spacer pads (supplied with the helmet) for fit adjustment between nape pad and TPL.
| Adjustment Type | Best For Pressure On | Action | Risk If Skipped/Done Wrong |
|---|---|---|---|
| Top Pad Height (A-HEAD) | Forehead, Crown | Adjust front/rear clips per manual | Uneven pressure, loose pad compromises fit |
| Cheek Pad Swap | Cheeks, Jaw | Install thinner/thicker OEM pads | Can create new pressure points if wrong size |
| Strap Adjustment | General looseness | Tighten until snug against jaw | Helmet rotates on impact; HJC C10 manual says strap must have no slack |
| Spacer Pads (Aviation) | Nape, Temple | Insert supplied pads between layers | Improper fit for helmet-mounted devices |
Step 2: Add or Remove Material (The Safe Way)
When manufacturer adjustments aren’t enough, you can carefully modify the comfort liner, not the safety liner. The bright polystyrene EPS foam is the energy-absorbing layer. It is not a candidate for modification.
Adding Material for a Snugger Fit
If the helmet is slightly loose but the right shape, adding material is safer than removing it. You have two clean paths:
- Specialized Aftermarket Liners: Products like the No Pressure Point Liners are designed for this. They add volume in specific areas without compromising safety. This is far better than gluing in chunks of foam from a craft store.
- Strategic Padding: For a very specific hot spot, you can add a thin layer of closed-cell foam (like neoprene) under the existing cloth liner. The key is to keep it thin, flat, and secure so it doesn’t bunch up. The goal is to fill a tiny gap, not to reshape your head.
My rule for the how to fix pressure points in a motorcycle helmet process is to give every fix a one-hour ride test. A change that feels perfect in the garage can shift and create a new pressure point at highway speed. If you’ve ever tried to break in a helmet only to find the pain got worse, you know what I mean.
The Last Resort: Careful Liner Trimming
Sometimes a liner has a seam or a thick spot causing pain. If you must trim, follow this rigid protocol:
- Only trim the soft, fabric-covered comfort liner.
- Use sharp scissors and remove tiny amounts, think 1-2mm at a time.
- Never cut into the dense, white EPS foam beneath.
- Test fit after every single cut.
This is a last-ditch effort. If you’re trimming more than a sliver, you’re trying to force the wrong helmet shape. Stop.
Where this goes sideways: Shaving the EPS foam to make room. This removes the material designed to crush and absorb impact energy. The damage is invisible but turns the helmet into a decorative shell in a crash. Every manufacturer manual warns against modifications that affect the protective structure.
When to Stop: It’s a Shape Problem
This is the guide’s most important section. If your diagnostic walk pointed to a shape mismatch, you are done. No pad, liner, or adjustment will create a safe, comfortable fit.
Pressure points on the forehead indicate a helmet is too round for the wearer’s head. Pressure points on the sides of the head indicate a helmet is too oval for the wearer’s head. You can size up, but then the helmet will be loose front-to-back, allowing dangerous rotation in a crash.
The only solution is to find a helmet model designed for your head shape. Brands like Arai and Shoei offer different internal shapes within the same size. This is why understanding your head shape is more critical than knowing your hat size. A proper helmet sizing process starts with shape, then uses circumference to fine-tune the size within that shape category.
Helmet Care That Prevents Problems
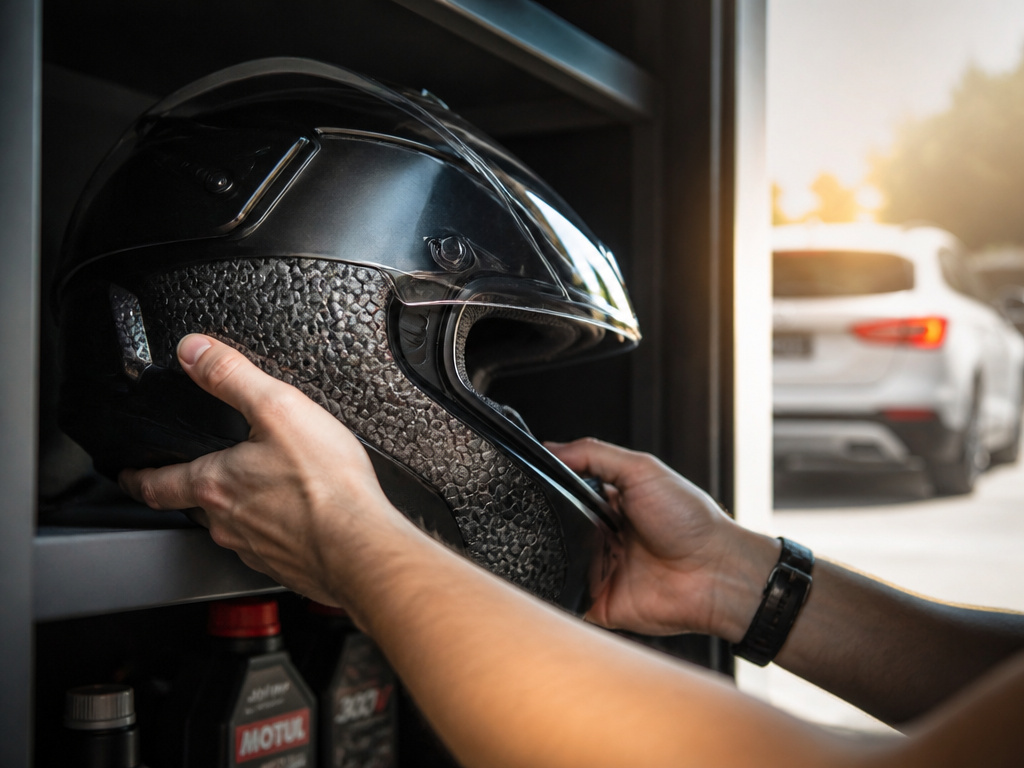
Sometimes, pressure points develop over time due to care, not fit. How you store and clean your helmet matters.
- Storage Temperature: Manuals disagree on the exact number: the HJC C10 manual says to keep it away from heat in excess of 122°F, while a Gentex aviation manual warns against storage over 200°F. The takeaway? Don’t leave your helmet in a sealed car on a summer day. Heat can cause the EPS liner to degrade or deform, changing the fit.
- Cleaning: Never use solvents. To clean the shell use water and mild soap; let the helmet dry at room temperature, never expose it to heat. To clean the internal lining use a damp cloth and mild soap only. Let the treated parts dry at room temperature away from direct sunlight and never expose them to heat.
- Handling: Never hang your helmet by the strap or D-rings on a hook. Never hang or hook your helmet on anything including mirror stalks or sissy bars – Doing so may cause damage to the helmet protective foam or liner. Use a helmet bag or a shelf.
These aren’t just longevity tips. A deformed or degraded liner will absolutely create new pressure points and fail to protect you.
How to Test Helmet Fit With and Without Gear
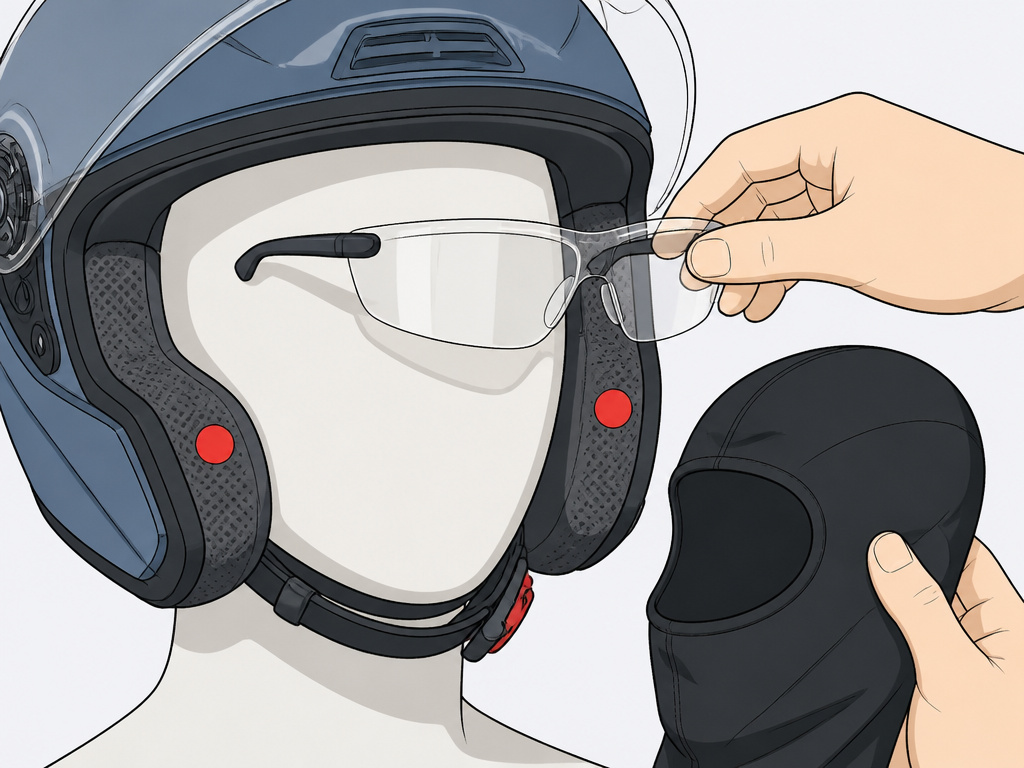
Always test your helmet’s fit while wearing everything you plan to ride with. Put on your glasses, balaclava, or any headwear you typically use. A helmet that feels perfect on bare skin can create immediate pressure points when you add even thin layers. The key is achieving an even, snug fit without uncomfortable spots. After buying a new helmet, try wearing it with all your gear for 30 to 45 minutes to check for pressure points before using it on a ride. If you feel new pressure with your gear on, the helmet’s internal shape may not be compatible with those items. Remember, you should never wear anything between your head and your helmet, as this can reduce its protective effectiveness. If your gear creates a problem, the helmet is likely the wrong shape or size for you.
Frequently Asked Questions
What is the 5-year rule for motorcycle helmets?
HJC recommends changing a helmet every 3 to 5 years. This isn’t just about style. Sweat, oils, UV light, and temperature fluctuations degrade the resins in the EPS foam and the integrity of the adhesives. The accumulation of sweat and dirt can also deteriorate fabrics and stitching, affecting fit and comfort. After five years, the helmet may not perform as designed in an impact.
Can I just wear a helmet that’s a little tight until it breaks in?
Yes, but with a major caveat. A new helmet should be snug with even pressure. It will loosen slightly as the comfort liner compresses over 15-20 hours of wear. However, a helmet that is painfully tight or has sharp, localized pressure points will likely not “break in” correctly. You’re waiting for a fundamental shape mismatch to disappear, which it won’t. Break-in only softens padding; it doesn’t reshape the helmet’s internal structure.
Does adding a skull cap or bandana help with pressure points?
No. In fact, it can hurt. The HJC C10 manual explicitly states: “Never wear anything between your head and your helmet.” A skull cap adds an unpredictable, compressible layer that changes how the energy-absorbing liner contacts your head. It can also create new pressure points and allow the helmet to shift. If you need a liner, use one designed for helmet fit that’s thin and non-compressible.
How do I know if my helmet is unsafe, not just uncomfortable?
The NHTSA lists clear signs of an unsafe “novelty” helmet. Unsafe helmets will be less than 1 inch thick, and usually lack a stiff foam inner liner. The DOT safety standard does not allow anything to extend further than two-tenths of an inch from the surface of a helmet. An unsafe helmet will never fit correctly because it lacks a proper, energy-absorbing structure.
The Bottom Line
Fit first, features second. A pressure point is a failure of that first principle. Start with the 45-minute wear test and the shape diagnosis. Exhaust every manufacturer adjustment, top pads, cheek pads, strap tension. If you must modify, only add thin material under the liner, and never touch the EPS foam.
Here’s the hard truth most guides soften: if the shape is wrong, you need a different helmet. Spending $50 on pads and liners to fix a $500 helmet that doesn’t fit your skull is a waste of money and a safety gamble. The official NHTSA helmet fit advice is clear on this, pressure points reveal a fundamental mismatch. Your head shape isn’t going to change. Buy the helmet that matches it.
