
How to Disinfect a Used Motorcycle Helmet: Step-by-Step
This post contains affiliate links. As an Amazon Associate, we earn from qualifying purchases.
To disinfect a used motorcycle helmet, you must kill germs, not just clean dirt. Use a helmet-specific disinfectant spray with proven bactericidal activity or a 70% isopropyl alcohol solution on a cloth for non-porous surfaces. The process hinges on allowing sufficient dwell time for the sanitizer (for example, a diving equipment bulletin recommends 10 minutes) and a full, air-dry reassembly to prevent mold.
Disinfecting is different from a basic wash. You’re targeting the microbes a previous owner left behind, bacteria like Staphylococcus and fungi like Aspergillus that a study found living on helmet surfaces. A simple soap-and-water clean won’t kill them, and the wrong chemical can silently ruin the helmet’s energy-absorbing foam. This is why it’s crucial to know how to disinfect a used motorcycle helmet correctly.
What follows is the method that actually works, pulled directly from OEM maintenance guides and a peer-reviewed study. We’ll walk through inspecting the helmet’s safety first, the exact cleaning and disinfecting steps for each part, and the critical mistakes that turn a $500 helmet into a decorative piece.
Key Takeaways
- Inspect the helmet for safety flaws before you clean it. Check for EPS liner separation, loose padding, or an impact history, if you find any, the helmet is trash, not a project.
- Use a disinfectant with a proven dwell time. Data from a diving equipment bulletin shows a 10-minute contact time is needed for germicidal solutions to work; a quick spritz and wipe does nothing.
- Never submerge the EPS liner.
- Dry every component absolutely bone-dry before reassembly. SHOEI is explicit: reassembling a shield or Pinlock insert while wet traps moisture inside, guaranteeing mold.
- Skip harsh solvents and extreme heat. The Sedici manual bans ammonia, bleach, and gasoline; Schuberth warns that fuel and thinners destroy the shell’s structure, and heat above 120°F damages the liner.
Why Disinfecting is Different From Cleaning
Cleaning removes dirt and grime. Disinfecting kills pathogenic microorganisms. When you buy a used helmet, you’re inheriting someone else’s microbial ecosystem. A study in the Asian Journal of Biological and Life Sciences swabbed motorcycle helmets and found a mix of bacteria and fungi. The researchers tested a helmet disinfectant spray and found it reduced bacterial colonies from 167 to 91 and produced a 21mm zone of inhibition in lab tests.
That’s the target. Your goal isn’t just a fresh smell, it’s to eliminate the potential for transmitting anything from minor skin irritation to more serious issues. This is why the process needs to be methodical and why you must check the helmet’s viability first. Spending an hour on the how to disinfect a used motorcycle helmet process for one that’s already expired or damaged is a waste of effort.
Before you start: Wear nitrile gloves to protect your hands from cleaning agents and to avoid re-contaminating the helmet. Work in a well-ventilated area, and keep all solvents and aerosols away from open flames.
Step 1: The Pre-Clean Safety Inspection
Never pour a drop of cleaner on a helmet before you know it’s structurally sound. A used helmet could be expired, crashed, or stored improperly. The inspection is faster than the clean.
First, check the manufacturing date. It’s usually on a sticker inside the shell near the brow. Brands disagree on lifespan: SHOEI recommends replacement 5 years after retail purchase, Dainese recommends replacement after five years, and Schuberth suggests 5 to 7 years depending on use and care. If it’s past the older date, stop. The EPS foam degrades over time.
Next, run the SHOEI failure-point checklist. Look for:
- Any sign of an impact. Don’t just look for cracks. Check for scuffs, deep scratches, or any deformity in the shell.
- Loose padding or retention system. Fasten the chin strap. Does the helmet twist easily on your head? Does the strap show fraying?
- EPS liner separation. Gently press on the interior foam. Does it feel detached from the shell? Can you see a gap?
- EPS damage. Shine a flashlight inside. Look for indentations, melting, or, on black foam, white scratches, which indicate compression.
If you find one yes, the helmet is not safe to wear. The cleaning guide stops here. This isn’t a judgment on the seller; it’s physics. A compromised helmet cannot be sanitized into safety.
The 5-Step Disinfection Process
This is the core. Follow the order, disassemble, clean, disinfect, dry, reassemble, and don’t shortcut the timing.
1. Disassemble Everything You Can
Start by removing the visor or face shield. Most pop off with a gentle press on the release mechanisms. Next, take out the Pinlock anti-fog insert if it has one. Then, remove every bit of interior padding: the cheek pads, crown liner, and neck roll. Check your manual; some liners are one piece, others come out in sections.
This serves two purposes. First, it exposes every surface to your cleaning agents. Second, you can check the condition of the non-removable EPS foam liner underneath. If the previous owner never removed the pads, you might find a surprise.
2. Wash Removable Liners and Pads
This is where manufacturer advice diverges, so match your method to your helmet’s brand if you can.
| Brand | Method | Temperature | Notes |
|---|---|---|---|
| SHOEI | Hand or machine wash (use a mesh bag) | 30°C (86°F) | Use a neutral cleaning agent. Antibacterial detergents help with smells. |
| Dainese | Machine wash acceptable | Up to 35°C | Use neutral soap. |
| Schuberth E2 | Hand wash only | Maximum 30°C | Use mild soap. |
Never use detergent with bleach, fragrances, or softeners. The goal is to lift oils and soil without leaving a residue that breaks down the moisture-wicking fabrics. After washing, rinse thoroughly and gently squeeze out water, don’t wring.
Common mistake: Assuming all liners are machine-washable. The Schuberth E2 manual specifies hand-wash only for its neck roll and head pads. Putting them through an agitator can tear the stitching.
3. Clean and Disinfect the Shell and Fixed Surfaces
With the pads out, you have access to the helmet’s skeleton. For the outer shell, a mild detergent and water works. SHOEI says you can use a plastic cleaner or wax on glossy shells, but never on matte finishes, it will create shiny streaks. For the hard interior surfaces, the non-removable EPS foam liner and the inside of the shell, use a cloth dampened with your disinfectant solution.
Here is the disinfectant choice that matters:
- Helmet-Specific Disinfectant Spray: This is the easiest option. Look for one that lists bactericidal and fungicidal activity. Follow the label for dwell time.
- 70% Isopropyl Alcohol: This is effective and evaporates quickly. Apply it to a microfiber cloth, not directly to the helmet, to avoid soaking the EPS. Do not use on the visor, it can damage anti-fog coatings.
- Diluted White Vinegar (1:1 with water): A milder option for odor and some microbes. Rinse with a water-dampened cloth afterward to prevent a lingering smell.
Wipe every inch: the EPS liner, the strap, the buckle, and the hard plastic channels where the pads snap in. This is the step in how to disinfect a used motorcycle helmet that actually kills germs.
4. The Critical Dwell Time and Drying
Disinfectants need time to work. The Kirby Morgan diving helmet sanitation bulletin, which deals with shared, high-moisture equipment, mandates a 10-minute dwell time for its germicidal solution. That’s your benchmark. Don’t spray and immediately wipe. Apply your solution, set a timer, and let it sit.
Drying is essential. Dainese says to air-dry the inside without exposing it to direct heat sources like a hair dryer or sun. SHOEI states all parts must be absolutely dry before reassembly. Lay the pads flat on a towel. Leave the shell upside down in a room with good airflow. This can take 24-48 hours. Rushing it invites mildew, and that smell is nearly impossible to remove.
5. Reassemble Correctly
Once everything is bone-dry, put it back together. Snap the pads in firmly, ensuring all tabs are seated. Reinstall the Pinlock insert and the visor, double-checking that both are completely dry. A damp Pinlock sealed against the visor will grow a permanent fog of mold between the layers.
Finally, do a function check. Open and close all vents. Does the visor mechanism snap up and down cleanly? Does the helmet still feel solid? If anything feels loose or different, you may have missed a clip or need to revisit the drying step.
What About Lice or Bed Bugs?
This is a specific “People also ask” concern. Lice and bed bugs are parasites, not just bacteria. A standard disinfectant spray might not kill their eggs (nits).
If you have a specific reason to suspect an infestation, your protocol changes. After the initial disassembly, place all removable liners in a sealed plastic bag and put them in a freezer for at least 72 hours. Extreme cold kills all stages of these pests. For the hard shell and EPS, a thorough wipe-down with your chosen disinfectant is still key. This is a more extreme measure, but for a helmet from an unknown source, it’s a justified step for total peace of mind.
What NOT to Do: The OEM Warnings
The “don’ts” are more important than the “dos.” Breaking these rules can cause invisible damage that voids safety.
- Never use harsh chemicals. The Sedici manual has the definitive ban list: petrochemicals, glass cleaners, ammonia, bleach, gasoline, paint thinner, benzene, or acetone. Schuberth warns that motor fuel and solvents destroy the shell’s structure.
- Never submerge the helmet. EPS foam is not waterproof. Dainese explicitly says to avoid direct water on polystyrene. You can wipe it, but don’t dunk it.
- Never use high heat. Schuberth notes exhaust heat can damage the interior lining. Never use a hair dryer, oven, or place it on a radiator.
- Never skip the manual. Dainese advises consulting your helmet’s user manual for model-specific guidance. A basic guide on cleaning a motorcycle helmet is a start, but your model may have unique pads or seals.
When to Use a Deodorizer vs. A Disinfectant
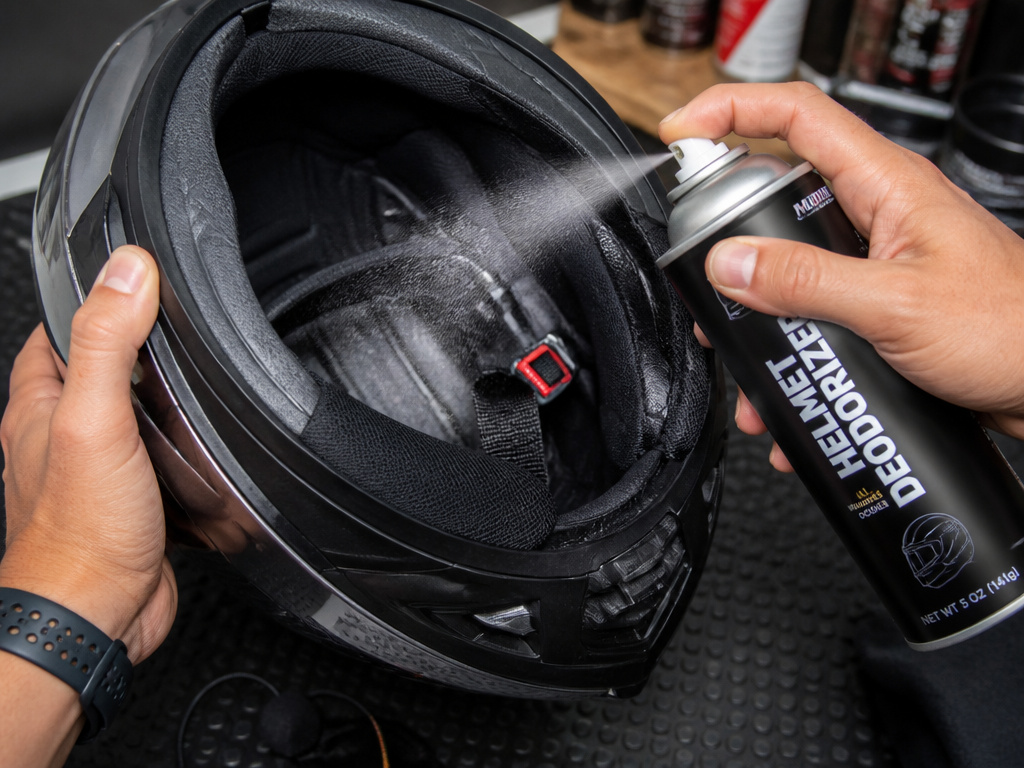
A deodorizer masks or absorbs smells. A disinfectant kills the microbes causing the smell. After a proper disinfection, odor should be gone. If a musty or sour smell persists after everything is dry, the issue might be deep in the EPS foam where wiping couldn’t reach.
At that point, a dedicated helmet deodorizer can help.
How to Store a Disinfected Helmet
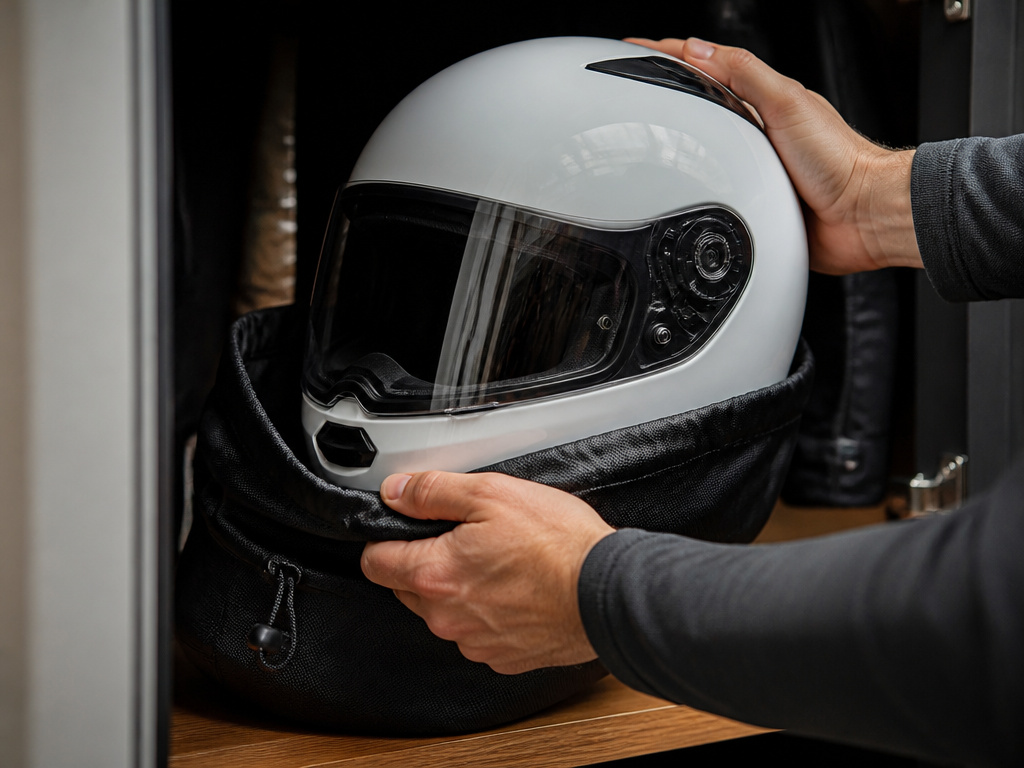
You just did the work. Don’t ruin it. Store the helmet in a cool, dry place away from direct sunlight. Use the helmet bag it came in, if you have it. Schuberth recommends this for a dry, ventilated, stable environment. Never hang it on a mirror or handlebar; the weight on the liner can permanently deform the EPS foam. For long-term storage, a guide on how to store a motorcycle helmet recommends a shelf in a closet as ideal.
If you ride in the rain, knowing how to dry motorcycle gear after riding in the rain properly is the next skill. The same air-dry, no-heat rules apply.
How to deep clean a used motorcycle helmet
Start by removing all removable interior parts like cheek pads and crown liners. Check your helmet’s manual for the correct washing method, as some pads are machine-washable while others are hand-wash only. Use a neutral soap and lukewarm water. For the fixed interior padding and EPS liner, wipe carefully with a cloth moistened with neutral soap and water, avoiding soaking the polystyrene. Clean the outer shell with water and soap or a plastic cleaner, but avoid using any polish on a matte finish. Never use harsh cleaners like bleach, ammonia, gasoline, or solvents as they can cause invisible damage. Rinse everything thoroughly. Air-dry all parts completely away from direct heat before reassembling the helmet. Ensure the shield and any inserts are absolutely dry to prevent trapped moisture.
Cleaning removable liners vs fixed padding
The key difference is the cleaning method. Removable liners, such as cheek pads and crown pads, can be washed more thoroughly. They can typically be hand-washed or machine-washed using a neutral soap. Always check your specific helmet’s manual, as temperature limits and whether machine washing is allowed can vary. Non-removable, fixed padding must be cleaned in place. Wipe it down with a damp cloth using only a neutral cleaning agent. You can also wipe the EPS liner beneath with a mild cleaner, but avoid direct water on the polystyrene. For both types, the goal is to clean without saturating the materials. After cleaning, air-dry everything fully without using direct heat sources before using the helmet again.
Frequently Asked Questions
Can I use Lysol or Clorox wipes on my helmet?
No. These wipes often contain bleach (sodium hypochlorite) or ammonia derivatives, which are on the Sedici and other manufacturers’ banned lists. These chemicals can degrade plastics, foams, and glues. Stick to isopropyl alcohol or helmet-specific sprays.
How do I disinfect a helmet with a non-removable liner?
You work with what you have. Follow the Dainese method: use a cloth moistened with neutral soap and lukewarm water to wipe the interior. Then, use a separate cloth with your chosen disinfectant (like diluted isopropyl alcohol) to wipe all surfaces. The key is to avoid saturating the liner. Afterward, air-dry it thoroughly, this may take longer.
Is it safe to buy a used motorcycle helmet?
It’s a risk calculation. You can never fully know its history. Our stance on used gear safety is cautious. For a helmet, the pre-purchase inspection is everything. If you can’t verify its age and inspect it for damage yourself, the safe answer is no. A new, affordable helmet is a better investment than a discounted premium lid with an unknown past.
What is the 2 2 2 rule for bike helmets?
This is a common memory aid for helmet replacement, but manufacturers use timeframes (5-7 years) and condition-based criteria. However, this is a simplification. Manufacturers use timeframes (5-7 years) and condition-based criteria (like SHOEI’s list). The “2 drops” part is especially contentious, a short drop onto a carpet might not harm it, but a drop onto pavement from handlebar height could. Always inspect and follow the OEM’s specific guidance over a general rule.
Will disinfecting damage the helmet’s safety rating?
No, if you follow the correct procedures. Using approved cleaners and methods does not compromise the structural integrity of the shell or EPS. In fact, regularly cleaning the motorcycle helmet liner helps maintain proper fit. What damages safety is using banned solvents, exposing the helmet to extreme heat, or ignoring impact damage.
The Bottom Line
Disinfecting a used helmet is a systematic deep clean with a germ-killing focus. The sequence is fixed: inspect, disassemble, wash, disinfect with dwell time, dry completely, reassemble. Your best tools are neutral soap, 70% isopropyl alcohol, and patience.
A data point from professional diving equipment sanitation protocols is a 10-minute dwell time for germicidal solutions. A quick wipe doesn’t cut it. If you’re not willing to let the disinfectant sit that long, you’re only cleaning, not sanitizing.
Finally, let the helmet’s condition dictate your effort. If it passes the SHOEI inspection checklist and is within the 5-7 year window, this process can give it a second life. If it fails inspection, walk away. No amount of disinfectant can fix compromised EPS foam. Your head is worth the distinction.
