
How to Prepare a Motorcycle for a Track Day: Step-by-Step
This post contains affiliate links. As an Amazon Associate, we earn from qualifying purchases.
To prepare a motorcycle for a track day, you must pass a technical inspection that focuses on eliminating failure points, not just checking basics. This means removing or taping mirrors and lights, verifying critical fluids and fasteners, and often safety-wiring the oil filler and drain plug. Tire pressures are set for track performance, not street comfort, and your brake fluid must be fresh, high-temperature grade.
That zero-tolerance mindset is what separates a bike that passes from one that gets turned away at the tech line. The track pushes every component to its limit, exposing weaknesses you never notice on the street. This is why knowing how to prepare a motorcycle for a track day is critical. A loose axle pinch bolt or brake fluid that’s absorbed moisture will fail you, not just slow you down.
What follows is the scrutineer’s guide to how to prepare a motorcycle for a track day: the essential modifications, the gear you must wear, and the specific numbers from manufacturers like Honda and Bridgestone that tell you what “ready” actually means. We’ll cover the bolt-by-bolt prep, the gear check, and what to do after the last session to get your bike back on the street.
Key Takeaways
- Replace your brake fluid with a high-temperature DOT 4 or DOT 5.1 grade before your first event. Old, moisture-laden fluid boils under track braking, causing a soft lever and brake fade that feels like having no brakes at all.
- Set tire pressure for track performance. Bridgestone advises always referring to the motorcycle manufacturer’s recommendations for track usage and tire pressures. Their data for specific race tires targets a specific hot tire pressure measured right after a session (e.g., 33 psi hot for an R11 front).
- Remove the kickstand entirely; while some organizations allow it to be zip-tied up, CT Moto Parts states the correct procedure is complete removal, which many scrutineers prefer. This requires a set of front and rear paddock stands, which are essential for proper chain maintenance and storage anyway.
- Tech inspection covers you and the bike. You need a full leather suit (one or two-piece), a back protector, gauntlet gloves, and boots that cover the ankle. No gear, no grid.
- Purchase standalone track day insurance. Your standard street policy almost certainly does not cover on-track incidents, leaving you financially exposed for the cost of your bike.
The Scrutineer’s Mindset: From Street Bike to Track Tool
Track riding isn’t a spirited Sunday ride. It’s a controlled environment that demands your motorcycle perform at 100% for repeated sessions. The scrutineer’s job is to ensure your bike won’t dump oil on the racing line or shed a mirror in a crash. Your job is to adopt their mindset: what is the potential failure point, and how do I eliminate it?
This starts with a fundamental shift. You’re not just “getting the bike ready.” You’re conducting a failure-mode analysis. A loose fairing bolt isn’t an annoyance; it’s a projectile. Coolant that isn’t track-approved isn’t just suboptimal; it’s a slick, dangerous spill waiting to happen. This guide to how to prepare a motorcycle for a track day walks through that analysis, turning the tech sheet from a list of chores into a logical safety protocol.
Before you start: You will be working with brake fluid (a skin irritant and paint stripper), safety wire (sharp), and potentially hot engine components. Wear nitrile gloves and safety glasses. Have a fire extinguisher nearby. Do not perform this work the night before the event, give yourself a week to discover and fix problems.
The Tech Inspection Pass/Fail Checklist
Tech inspection is the gatekeeper. Show up with anything on this list unresolved, and you’re watching from the paddock. It’s that simple.
First, the exterior. Remove your mirrors, and tape over or remove lights, turn signals, and mirror stalks. Use wide tape for lights and glass that removes cleanly. The goal is to prevent shrapnel. Next, address the kickstand. While some organizations allow it to be zip-tied up, this is viewed as a compromise. The correct procedure is complete removal, which necessitates using a paddock stand. It eliminates the risk of the stand deploying under extreme lean or vibration.
Now, the critical fluids. Your brake system gets abused on track. You must replace your stock fluid with a high-performance, high-temperature racing brake fluid (like a DOT 5.1 or a high-spec DOT 4) before your first track day. The fluid must be completely flushed and bled until it runs perfectly clear, with zero air bubbles. Old fluid turns amber and absorbs water; under heavy braking, that water turns to steam and your lever goes to the bar.
Coolant is next. Many tracks require a non-glycol coolant or water with a wetter additive. Standard ethylene glycol coolant is extremely slick and dangerous when spilled on track. Check your organizer’s rules and swap it if required.
Finally, the fasteners. Go over every bolt you can reach, axle nuts, caliper mounts, rotor bolts, engine mounts, and clip-ons. This isn’t a casual glance. Use the correct size wrench and check for movement. I found a loose front axle pinch bolt doing this once. Nothing happened, which is the entire point of the exercise.
| Item | Pass Condition | Common Fail Reason |
|---|---|---|
| Lights/Mirrors | Removed or fully taped over | Tape gaps, mirror stalks not removed |
| Kickstand | Removed | Zip-tied in place (org-dependent) |
| Brake Fluid | Fresh, high-temp fluid (DOT 4/5.1), clear in reservoir | Dark, old fluid; low level |
| Coolant | Track-approved non-glycol or water+wetter | Standard street coolant |
| Oil Filler/Drain Plug | Safety-wired (if required) | Not wired, or improper wiring |
| General Fasteners | All critical bolts properly torqued | Loose axle, caliper, or engine bolts |
How to Safety Wire a Motorcycle
If your organizer requires it, you’ll need to safety-wire the oil filler cap and drain plug. This ensures they cannot vibrate loose and cause an oil spill. It’s fiddly the first time but becomes routine.
You need stainless steel safety wire and a pair of safety-wire pliers. The goal is to twist the wire tightly so it pulls the fastener in the direction of tightening. For a drain plug, you drill a small hole in a tab on the plug (some come pre-drilled) and a corresponding hole in the surrounding metal. Thread the wire through, twist it tight with the pliers, and fold the twisted pigtail back so it doesn’t snag anything.
Where this goes sideways: Trying to drill the hole the night before and stripping the drill bit. Or making a bird’s nest of wire that tech rejects for being insecure. Do your first safety wiring attempt a week out, when you have time to order a new bolt if you mess up the drilling.
My first attempt took an hour and looked terrible. The second one, with the right tools, took 15 minutes. Wire the drain plug and oil filler first, those are what inspectors check most closely.
Track-Specific Tire Pressures and Warm-Up
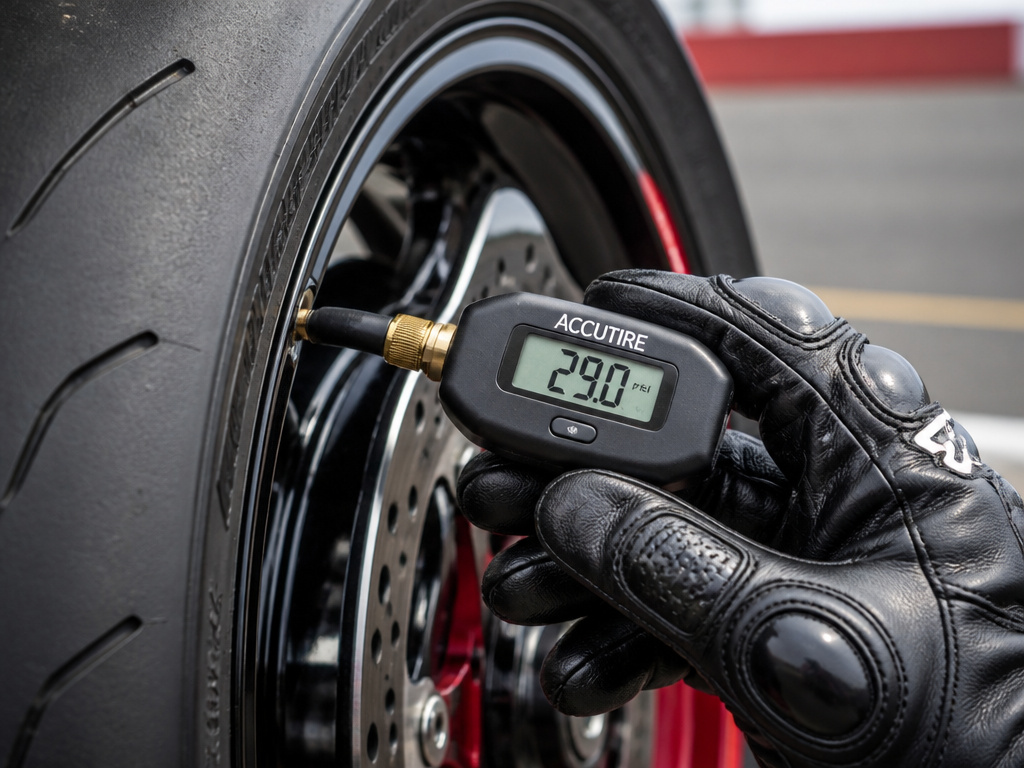
This is where most street riders get tripped up. Street pressures are for comfort, longevity, and cold operation. Track pressures are for maximum grip at operating temperature, which means they are almost always lower.
According to Bridgestone’s technical guide, for track use you should always refer to the motorcycle manufacturer’s recommendations for track usage and tire pressures. However, their data reveals the real target: a specific hot tire pressure. You set a lower cold pressure, go out for a session, and measure the pressure right when you come back in. That post-session reading is your “hot” pressure, and you adjust your cold settings to hit the target hot number.
For example, a Bridgestone R11 F 120/70R17 SOFT tire has a hot pressure target of 33 psi, with an acceptable range of 31–34 psi. A V02 F 120/605R17 SOFT targets 34.5 psi hot. Street tires are different, using them on track may void the warranty and they require higher pressures, like 30 psi cold for a Bridgestone S22 front.
Ride more carefully until your tires warm up to operating temperature. A “warm-up lap” is not a suggestion; it’s a requirement for grip. On DOT track tires without warmers, you need a full lap of gradual building pace before you lean hard.
Bridgestone recommends tire warmers for grooved racing tires (like the R11 or V02). However, TrackDay Grid notes that if you are on DOT track tires you can run without warmers, but you must take a warm-up lap to build heat. They keep the tire at a stable temperature between sessions, which can extend tire life. Bridgestone notes a typical pressure reduction of 1.0–1.5 psi after one hour of warmer use at 175°F, which you must account for when setting your initial cold pressure.
For rain tires, the philosophy flips. Pressures for Racing Battlax Wet tires are taken when cold. Adjust from there: +1.5 psi for a very wet track, +0 psi for a wet track, -1.5 psi for a drying track.
The Mandatory Gear Check
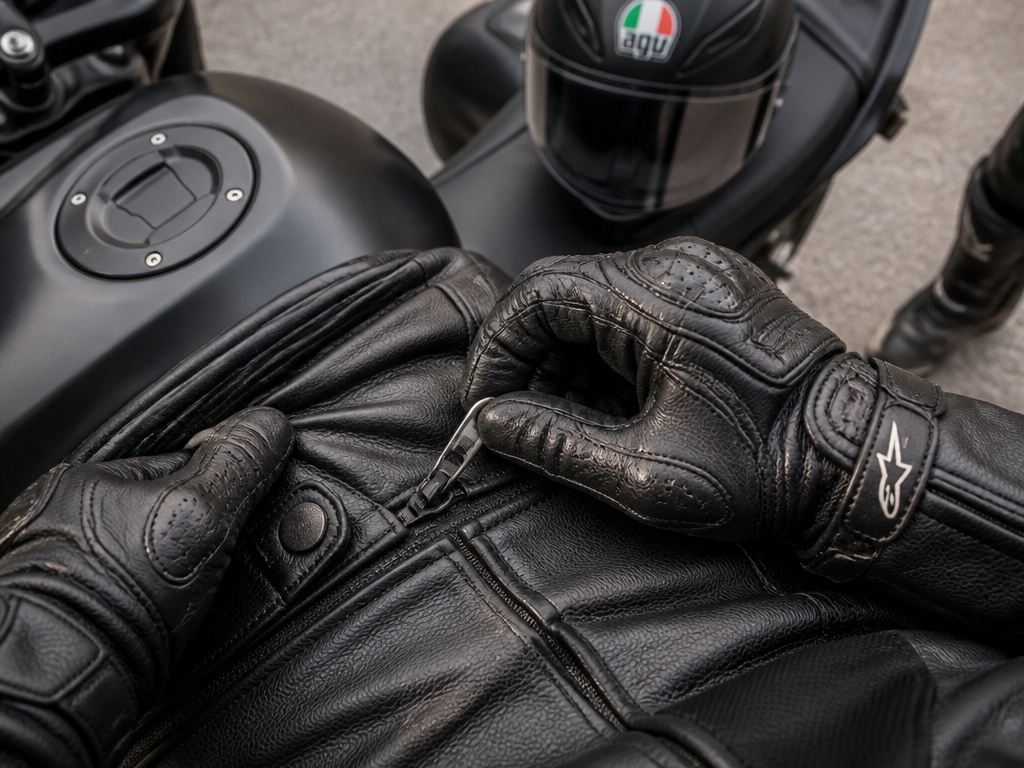
Tech inspects you as well as the bike. Showing up with a perfectly prepped motorcycle but street jeans and a hoodie is an automatic fail. The rules exist because this gear works.
You need a full leather suit (one-piece or a zip-together two-piece that attaches securely at the waist). Textile suits are often not allowed; check your organizer’s specific rules. Inside that suit, a back protector is mandatory, sometimes built into the suit, sometimes a separate insert. Gauntlet gloves that protect your wrist and boots that cover the ankle are mandatory. Your helmet must be in good condition, with no visible damage or compromised inner liner.
This isn’t the place to cheap out or argue. These gear requirements are written from crash data. Your street gear, no matter how “armored,” likely doesn’t meet the spec.
Pre-Track Mechanical Inspection (Beyond the Basics)
The standard “check tires and oil” isn’t enough. Honda’s circuit-riding guide highlights specific, often-missed items that matter at pace.
Brake pads: For circuit riding, Honda states it is preferable for brake pads to be as thick as new ones. This is a stricter standard than street wear indicators. You’re using 100% of the pad’s capability every lap; thin pads overheat and fade faster.
Tire wear: Tires wear unevenly on both sides on track. Inspect the groove depth on both sides of the tire, not just the center. If you’re using your street tires, they’re likely “squared off” from highway miles, which gives vague, unsettling feedback at full lean.
Chain slack: Check and adjust it. Honda notes that chain slack affects driving characteristics and should be kept how you like it for circuit riding. Different riders prefer different tensions for feel. Check and adjust it. Honda notes that chain slack affects driving characteristics and should be kept how you like it for circuit riding, while TrackDay Grid advises setting it to spec.
Fuel hoses: On an older motorcycle, check the fuel hoses regularly. Honda points out they are almost never checked in daily inspections but can deteriorate and leak, a major fire hazard.
Engine oil: Even if your mileage is low, engine oil deteriorates over time and should be changed regularly. The sustained high RPM and heat of track work breaks down oil faster. Start the day with fresh oil of the correct grade.
What to Do After the Track Day
The work isn’t over when the last checkered flag waves. You need to safely return your bike to street duty.
First, remove all the tape. Carefully remove all the tape to avoid leaving adhesive residue. Reinstall your mirrors and mirrors.
Second, check your tire pressures and adjust them back to street cold pressures. Those track-day low pressures will feel unstable and wear quickly on the highway.
Third, conduct a post-event inspection. Look for any new fluid leaks, check brake pad thickness, and inspect the tires for unusual wear or picked-up debris. Give the chain another clean and lube, as track grit is abrasive.
Finally, consider an oil change. Even one track day puts significant thermal stress on your oil. It’s cheap insurance for your engine’s longevity. This is also the time to reverse any other track-only mods, like swapping coolant back if required.
Crash Protection (Frame sliders, case covers)
The goal of crash protection is to minimize damage to critical parts like the engine cases and frame in a slide. While specific brands and models aren’t mandated, installing frame sliders and case covers is a standard practice. These components are designed to take the initial impact and abrasion, acting as a sacrificial layer to protect more expensive and vital motorcycle parts. Their installation is a key part of adopting the scrutineer’s mindset to eliminate potential failure points. Ensure any aftermarket parts are securely mounted to the manufacturer’s specified torque settings to prevent them from becoming detached hazards during an incident.
Group-Specific Requirements (Novice vs. Advanced)
Track day organizations typically separate riders into groups based on skill and pace, from novice to advanced. While motorcycle preparation fundamentals are consistent, the expectations for control and speed differ. A novice group focuses on learning lines and building confidence, often with controlled passing rules. An advanced group runs at a much higher pace with more open passing, placing greater thermal and mechanical stress on tires, brakes, and suspension. Your preparation must match the demands of your group; advanced riders should be meticulous about achieving correct hot tire pressures and ensuring brake pads have ample material, as the scrutiny on component performance intensifies with speed.
Throttle & Kill-Switch Function Check
A throttle that sticks or a kill-switch that fails is a direct path to a serious incident. Before every session, perform a functional check. With the engine off, turn the handlebars lock-to-lock while slowly opening and closing the throttle. The grip should snap back closed smoothly and completely without any binding or hesitation. Next, start the engine and immediately test the kill-switch (also called the engine stop switch). A firm press should instantly cut the engine. This switch is your primary emergency stop control, so its reliability is absolutely required. This simple pre-ride check takes seconds but is a critical habit for track safety.
Frequently Asked Questions
What is the most common reason bikes fail tech inspection?
Old brake fluid and loose fasteners. Inspectors see dark, old fluid in the reservoir and immediately know the system hasn’t been serviced for track conditions. A quick tug on a caliper bolt or axle nut that has play will also send you back to the paddock.
Can I use my street tires on the track?
You can, but you shouldn’t expect race-tire performance, and you may void the tire manufacturer’s warranty. More importantly, street tires have different, higher operating temperature ranges. If you do use them, like a Bridgestone S22, use the manufacturer’s recommended track-day cold pressure (e.g., 30 psi front for an S22), not your street pressure.
Do I need tire warmers for my first track day?
No. For your first few days in the novice group, running DOT-approved track tires (like a Bridgestone RS10) or even your street tires, warmers aren’t necessary. The key is to take a full, gradual warm-up lap to build heat in the tires before you push. Warmers become valuable when you’re chasing consistent lap times and using slicker race rubber.
What does “safety wiring” actually prevent?
It prevents fasteners from vibrating loose due to the intense harmonics of a high-RPM engine on track. An oil drain plug or filler cap that works loose isn’t just a leak; it’s an oil spill on the racing line, which is a massive safety hazard that will red-flag the session and could cause a multi-bike crash.
Does my regular motorcycle insurance cover a track day?
Almost certainly not. Standard street policies have explicit exclusions for “timed events” or “closed-course competition,” which they often interpret to include track days. The only safe solution is to purchase dedicated, standalone track day insurance for the event. It’s an added cost, but it’s the only way to cover physical damage to your bike on track.
The Bottom Line
Track day prep is a filter. It filters out the bikes, and riders, who aren’t ready for the physical demands of the circuit. The checklist isn’t arbitrary; every item traces back to a documented failure mode. Your job is to methodically eliminate each one.
Start with the fluids: fresh high-temp brake fluid and the correct coolant. Move to the bodywork: tape or remove anything that can break. Then secure the critical fasteners, with safety wire where required. Finally, set your tires for the job they’re about to do, not the one they did on the highway. Do this work a week out, so you have time to fix the problems you find. Then show up, pass tech, and learn. The speed comes later.
