
How to Make a Motorcycle Seat More Comfortable on Long Rides
This post contains affiliate links. As an Amazon Associate, we earn from qualifying purchases.
To make a motorcycle seat more comfortable on long rides, you need a system, not a single fix. Match your body’s pressure points with the right support layer, a properly adjusted air cushion, a gel pad, or a foam replacement, then combine it with disciplined posture, scheduled breaks, and moisture-wicking gear. The factory target for air cushions is a 13 mm (½ inch) gap between you and the seat surface when you’re seated in your riding position.
That gap is the measurable outcome, not a guess. It comes straight from the Harley-Davidson service manuals for their Road Zeppelin air cushions. Most riders chase comfort by buying a new seat first. The cheaper, faster win is learning how to use what you already have, or a simple add-on, correctly. A key part of this is knowing how to make a motorcycle seat more comfortable on long rides.
What follows is the sequence: start with the adjustables you own, move to add-ons with verified specs, then tackle DIY swaps if needed. Each layer works, but skipping the setup steps on any of them burns money and leaves you sore.
Key Takeaways
- Factory air cushions target a 13 mm (½ inch) gap between rider and seat surface, measure it by feel, not guesswork.
- Stop regularly to stand on the pegs and restore blood flow; staying hydrated helps prevent fatigue.
- For DIY foam, use high-density foam and a minimum 2 cm thickness for gel pads, thinner materials bottom out.
- Wicking base layers and riding-specific pants help manage sweat and heat.
Start With What You Have: Air Cushion Adjustment
If your bike has a factory air seat or you’ve added an aftermarket air cushion like the Harley-Davidson Road Zeppelin, you have a tunable support system. Most riders under-inflate it, then over-inflate it when it feels mushy, chasing a stable feel that never comes. The manuals have a specific procedure.
The 13 mm Gap Rule: How to Set Air Cushion Pressure
The Harley-Davidson service documents give a clear, physical target. You are aiming for a 13 mm (½ inch) gap between yourself and the seating surface when you are seated in your normal riding position, feet on the pegs. This process focuses on achieving the minimum air volume needed to keep you off the seat pan, rather than a firm or soft feel.
While seated, adjust the air pressure until you have sunk into the cushion with about a 13 mm (½ in) gap between you and the seating surface. Do not over-inflate! These cushions work most effectively with a minimum amount of air. Over-inflation will result in a floating, unstable feeling. Harley-Davidson Service Document 1874972756719331714
Here is the step-by-step method pulled from the OEM guides:
- Initial Inflation: Before sitting, use the bulb pump to inflate the cushion until the cells just start to balloon the cover. This can take 30 pumps or more.
- Seat and Deflate: Sit on the bike in your riding posture. Open the vent valve slightly and let air out until you sink down. You should feel the seat pan through the cushion, then add back just enough air so you lose that contact.
- Check the Gap: Shift your weight side to side. The air should transfer between cells beneath you. If you feel the pan before sinking about 13 mm, add a pump or two of air. If you feel like you’re floating on top, vent more air.
- Test in Motion: Ride around the block. The cushion will settle. Fine-tune at your next stop.
| Symptom | Likely Cause | Adjustment |
|---|---|---|
| Feeling the hard seat pan immediately | Under-inflation | Add 3-5 pumps of air, re-check gap |
| Floating, bouncy feeling | Over-inflation | Vent air until stable, gap is ~13 mm |
| Pressure points on thighs or tailbone | Uneven inflation | Shift weight side-to-side to redistribute air |
| Cushion feels firm in garage, soft after 30 mins | Temperature change | Re-check and adjust pressure; air expands with heat |
Where this goes sideways: Adjusting the air cushion while riding. The manual explicitly says to get close to ideal pressure while stationary to avoid distraction. Trying to fiddle with the valve at highway speed is a good way to miss your exit or over-correct.
The Disagreement on Air Philosophy
Harley’s method prioritizes a stable, planted feel, you sink in and stay put. The other approach prioritizes dynamic pressure relief, the cushion actively moves under you. There’s no universal rule. Your job is to understand the different philosophies, Harley-Davidson advocates for the minimum air needed to achieve a 13 mm gap, while others argue for more air volume for active redistribution.
The Add-On Layer: Seat Cushions and Pads
When the stock seat is the problem and adjustment isn’t enough, the question of how to make a motorcycle seat more comfortable on long rides leads to a topper pad as the logical next step. The market splits into three types: air, gel, and memory foam. Each has a different job.
Choosing a Cushion Type: Air vs. Gel vs. Foam
This isn’t about which is “best.” It’s about which solves your specific discomfort. A hot, sweaty rider needs a different answer than someone with tailbone pain.
| Cushion Type | Best For | Compromise |
|---|---|---|
| Air (e.g., Road Zeppelin, HexRider HexCushion) | Tunable pressure, long-distance pressure redistribution | Requires periodic adjustment, sensitive to temperature changes |
| Gel Pad | Concentrated pressure point relief (tailbone, sit bones) | Can retain heat, heavier, may bottom out on thin pads |
| Memory Foam / Specialty Foam | General comfort improvement, affordable, low maintenance | Little active support, can soften and lose shape with heat |
A forum user modifying a Kawasaki Ninja seat gave a specific warning on gel: they recommended a 2 cm thick gel pad and advised against a 1 cm version, stating the thinner pad wouldn’t do its job. That’s a real, community-sourced spec. Thin gel just spreads; it doesn’t cushion.
For a balanced approach, many riders use a quality gel pad like those from Alaska Leather under a breathable sheepskin cover. The gel targets pressure, the sheepskin wicks moisture and adds a plush layer. It’s a classic combo because it works.
Installation and Fit Gotchas
A pad that slides around is worse than useless. The Harley manuals for their accessory cushions have a precise strap-trimming note: if you cut the excess, leave at least 25 mm (1 inch) of strap past the buckle. They also note strap elasticity weakens over time, so a snug fit today might be loose in a year.
For universal pads, the fix is often a non-slip shelf liner between the pad and the seat. That rubbery mesh grips both surfaces and costs almost nothing.
The DIY Path: Foam and Gel
When add-ons aren’t enough, modifying the seat itself is the final step before a full custom seat order. This is where most guides get vague. You need numbers.
Foam Density and Thickness: The Specs That Matter
Seat foam is rated by density (weight per cubic foot) and firmness (IFD rating). For motorcycle use, you want high-density foam. Low-density foam collapses quickly, leaving you on the base pan.
- High-Density Foam: Look for 1.8 to 2.5 lb/ft³ density. This is the range used in quality aftermarket and custom seats. It supports weight without immediate compaction.
- Thickness: Never go thinner than the foam you’re replacing. If your stock seat foam is 3 inches thick, replacing it with 2-inch foam puts you closer to the hard pan immediately. Add thickness only if you have room under the stock cover.
- The Cut: Use an electric bread knife or a very sharp serrated knife. Trace the old foam precisely. A sloppy cut creates pressure ridges you’ll feel within the hour.
Why does density matter? Low-density foam has large, open air cells that crush permanently under sustained load. High-density foam has smaller, more resilient cells that spring back. On a long ride, that resilience is the difference between comfort at mile 100 and misery at mile 50.
Adding a Gel Insert
The DIY gel approach follows the forum advice: go thick enough to matter. A 2 cm (¾ inch) gel pad is a common starting point. You cut a cavity into the top of your seat foam and drop the gel insert in, then recover the seat.
Common mistake: Placing the gel pad directly under the vinyl cover. Without a layer of foam or Dacron batting over it, you’ll feel every hard edge of the gel pack. The goal is to isolate the gel’s pressure relief, not its physical shape.
The process is simple but permanent:
- Remove the seat cover (requires a staple gun for re-installation).
- Trace your gel pad on the foam top, then carve out the area with a knife.
- Insert the gel. Some builders add a layer of 1 cm Dacron batting over everything to smooth the profile.
- Re-stretch and staple the cover. This takes patience, wrinkles become hot spots.
It’s a weekend project with an uncertain outcome. That’s the honest take on DIY seat surgery.
Beyond the Seat: Posture and Position

Your seat supports your weight, but your posture determines how that weight is distributed, a key part of how to make a motorcycle seat more comfortable on long rides. A perfect seat won’t save a slouched riding position.
Dialing in Your Riding Triangle
The “rider triangle” is the relationship between the seat, handlebars, and footpegs. A triangle that’s too cramped loads your tailbone and wrists. One that’s too stretched strains your back and shoulders.
- Feet: Your knees should be at a slight bend when feet are on the pegs. If your legs are cramped, lowering pegs (if possible) can help.
- Hands: You should be able to grip the bars with a slight bend in your elbows. If you’re leaning heavily on your wrists, consider risers or a different bar.
- Back: A neutral spine is the goal. If you find yourself slouching, a lumbar support pad might be a better buy than a new seat.
Suspension setup is part of this. A soft, under-damped rear shock will pitch you forward into the tank under braking and pound your spine on bumps. Set your preload for your loaded riding weight. A seat can’t compensate for a wallowing chassis.
The Break Schedule
Your body isn’t built for static loading. The single most effective comfort tactic is a timer, not a product.
Set a reminder to stop and stand up every 90 minutes. Walk around for five minutes. This isn’t just about stretching; it restores blood circulation to the tissues compressed by your seat. Dehydration amplifies fatigue. If your urine is dark, you need to drink more water.
I learned this the hard way on a summer tour. I was using a gel pad on a stock seat, and it helped for about 100 miles. Then it just got hot and sweaty. What worked better was a simple sheepskin cover and religiously stopping every 90 minutes to stand on the pegs for a minute. The pad addressed pressure; the breaks and sheepskin addressed heat and circulation. The combination beat the single solution.
Gear That Makes a Difference
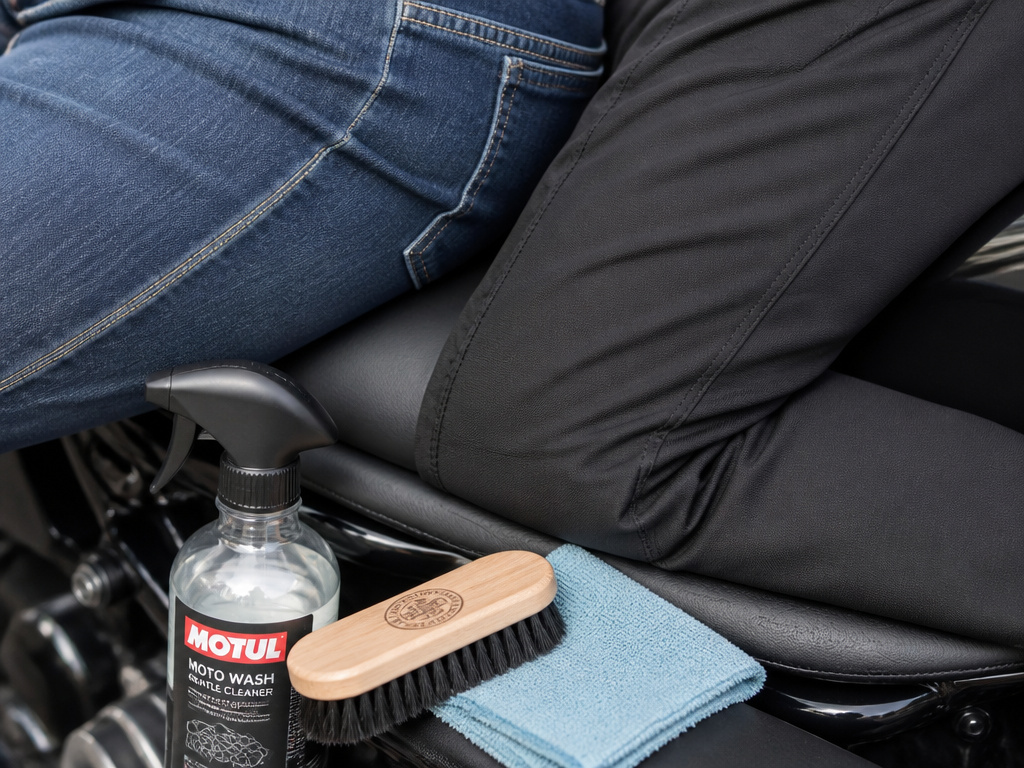
What you wear interacts directly with your seat. The wrong pants create their own problems.
Riding Pants and Base Layers
Jeans are a terrible interface for a seat. Seams are thick and placed exactly on pressure points. Dedicated riding pants, whether leather, textile, or modern jeans with stretch panels, are designed with flat seams in the critical sitting area.
A wicking base layer is essential for long, warm-weather rides. Cotton underwear holds sweat against your skin, leading to chafing and that sticky, miserable feeling. A polyester or merino wool base layer moves moisture away, keeping the skin-seat interface drier and reducing friction.
The Overlooked Care Routine
Seats get dirty, and grit acts like sandpaper on your gear and the seat’s own surface. The Harley manuals have specific cleaning instructions: treat the seat like furniture upholstery. Vacuum it. For stains, use water and a mild detergent (not laundry detergent). Never use a pressure washer on or near the seat.
They also warn against dragging boots across the surface and direct contact with hot exhaust components. Sun and heat degrade vinyl and stitching. A simple seat cover when the bike is parked extends the life of the materials you’re trying to make comfortable.
Comparing Brands (Mustang, Corbin, Sargent)
When looking at aftermarket seat brands, you’re comparing different philosophies of support and construction rather than just materials. One brand might focus on a deeply contoured shape to lock you in, while another prioritizes a wide, flat platform for maximum weight distribution. The goal with any of them is the same: you want to sink into the cushion just enough to be fully supported without hitting a hard bottom. Consider how each brand’s shape aligns with your riding posture and body type. A seat that works for a sport-touring crouch may not suit an upright cruiser stance. The right choice eliminates pressure points by matching its structure to your skeleton’s contact areas.
Heated Seats/Ventilation
Integrated heating or ventilation transforms a seat from passive padding into an active comfort system. Heating is straightforward, providing warmth that keeps muscles relaxed in cold weather. Ventilation, often via small fans or breathable materials, works to reduce heat and moisture buildup during hot rides. Both features aim to maintain a consistent microclimate, preventing the discomfort that comes from temperature extremes. When considering these options, think about your typical riding climate and gear. A heated seat is a clear benefit for winter touring, while ventilation is highly effective in summer humidity. They address a different kind of fatigue, one caused by your body working to regulate its temperature instead of just impact.
Frequently Asked Questions
How long does it take to break in a new seat or cushion?
Most quality foams and gels will settle noticeably over time as they conform to your shape. This process involves the material compressing to your specific shape and weight, which differs from a traditional “break-in”. Don’t judge a seat on the first ride. Give it a few tankfuls before deciding.
Can I just add more foam to my stock seat?
Sometimes. If your seat cover has enough slack, you can add a layer of high-density foam on top. However, adding too much height can alter your riding position, making you feel perched and unstable. A better route is replacing the existing foam with a higher-quality piece of the same thickness.
Are air cushions reliable? Don’t they leak?
Modern air cushions like the Road Zeppelin use durable urethane bladders. The manuals provide care and adjustment instructions for air cushions. The more common issue is the valve seal letting out tiny amounts of air over weeks, which is why periodic pressure checks are part of the routine.
Is a wider seat always more comfortable?
Not necessarily. A seat that’s too wide can chafe your inner thighs and prevent you from easily reaching the ground at stops. Comfort is about shape matching your anatomy and support, not just surface area. A seat that’s too wide for your frame can be less comfortable than a narrower, well-contoured one.
How important is seat material (vinyl, leather, etc.)?
Material matters most for heat and moisture. Vinyl is durable but can get very hot in the sun and doesn’t breathe. Leather breathes better and molds to you but requires maintenance. Modern synthetic materials often aim for a balance, offering breathability and weather resistance. Your choice here should be driven by your typical riding climate.
Before You Go
The search for seat comfort ends with a mix of mechanics and discipline. Start with the precise adjustment of what you have, that 13 mm gap is a real, measurable target. If you add a layer, choose based on your pain point: air for tunability, gel for pressure, quality foam for general support.
Then, commit to the rider habits. Set a timer for breaks. Drink water before you’re thirsty. Wear gear that manages moisture. A perfect seat is a force multiplier, but it can’t do the work alone. The most comfortable riders aren’t the ones with the most expensive seats; they’re the ones who understand that comfort is a system they maintain, not a product they buy.
