
How to Remove Bugs From a Motorcycle Helmet: Step-by-Step
This post contains affiliate links. As an Amazon Associate, we earn from qualifying purchases.
To remove bugs from a motorcycle helmet without scratching it, soften the splatter with water or a damp cloth first, then wipe gently with a solution of mild, ph-neutral soap and a clean microfiber cloth. Never wipe dry bugs or use paper towels, abrasive pads, solvents, or hot water above 50ºC (122ºF).
The difference between a clean helmet and a scratched one is that first step. Water changes the physics: a dried bug is hard grit that grinds the finish like sandpaper, but a damp one softens into a smear that wipes away. Knowing how to remove bugs from a motorcycle helmet is key. Manufacturer manuals provide similar but not identical advice, burying the temperature limits and specific soap recommendations in the fine print.
What follows: the five-minute field wipe for a gas stop, the full twenty-minute home clean, the OEM temperature caps that actually matter, and the one tool that keeps vents from clogging for good.
Key Takeaways
- Soak bugs with a wet cloth before wiping, dry wiping turns insect grit into permanent scratches.
- Use only mild, ph-neutral detergent and a soft microfiber cloth; solvents, alcohol, and paper towels damage shell coatings and visor anti-scratch layers.
- Respect brand-specific temperature limits: Sedici says 120ºF max, OGK Kabuto says 50ºC (122ºF), and Shoei warns against water over 40°C for its CNS-2 visor.
- For vents, use a compressed air can for keyboards, not high-pressure air, to blow out debris without forcing it deeper.
- On matte finishes, blot, don’t rub, and avoid waxes; excessive pressure can alter the finish to look glossy.
The Physics of a Bug Splatter (Why Dry Wiping Fails)
A bug hitting your visor at highway speed is a messy impact of chitin, body fluids, and sometimes pollen. In the first few minutes, it’s a wet smear. Leave it in the sun for an hour, and that smear bakes into a hard, gritty shell cemented to your helmet’s coating.
Wiping that dried shell with any cloth, even a microfiber, drags those microscopic, hardened particles across the finish. It’s less like cleaning and more like fine-grit sanding. The scratches start shallow but accumulate, clouding visor clarity and dulling the shell’s gloss or matte texture.
Water reverses the process through rehydration. A damp cloth placed on the splatter for sixty seconds allows moisture to seep under the edges and soften the protein glue that holds the bug to the surface. The grit dissolves back into a smear, which then wipes away without abrasive force. This isn’t a cleaning hack; it’s the basic materials science behind how to remove bugs from a motorcycle helmet. Every helmet maker’s manual assumes you’ll do this first, which is why they jump straight to “use mild soap.”
The 5-Step Shell Cleaning Process (and the One Step Nobody Skips)
This isn’t a deep clean, that’s for the liner and vents. This is about the painted or coated outer shell, where scratches are most visible and prevention is straightforward.
Step 1: Remove the visor and any electronics. Remove the visor and any electronics to prevent soapy water from seeping into pivot mechanisms or microphone ports. If your helmet has a built-in comms system, take the extra minute to unclip it. Water and electronics mix poorly, and drying out a speaker grill is a fuss you don’t need.
Step 2: Rinse with lukewarm water. Use a gentle stream from a hose or a spray bottle to knock off loose dirt and large debris. This preliminary rinse prevents you from grinding grit into the finish during the next step.
Where this goes sideways: Using water that’s too hot. The Sedici manual specifies a maximum storage/exposure temperature of 120ºF. The OGK Kabuto manual says not to use hot water above 50ºC (122ºF) for cleaning. Water hotter than that can soften helmet adhesives and damage certain coatings over time.
Step 3: Soak the bug splatter. This is the step impatient riders skip, and it’s the one that guarantees scratches. Don’t just mist the area. Lay a fully wet, wrung-out microfiber cloth over the bug patches. Let it sit to allow the water to soak in. You’ll see the edges of the splatter darken as the water soaks in.
Step 4: Gently wipe with soapy water. Mix a few drops of a mild, ph-neutral detergent, like a gentle dish soap or baby shampoo, into a bowl of cool water. Manuals like OGK Kabuto’s are specific about ph-neutral formulas; standard dish soaps can be slightly alkaline and may dull some finishes with repeated use. Use a fresh, soft microfiber cloth dipped in the solution to wipe the softened bugs away using light, circular motions.
Step 5: Rinse and dry completely. Rinse all soap off with clean water. Dry the shell immediately with a second, clean, dry microfiber cloth. Let the helmet air-dry in a shaded, well-ventilated spot, never in direct sunlight or on a hot radiator, as per the storage warnings.
| Do This | Don’t Do This | Why It Matters |
|---|---|---|
| Soak bugs with a damp cloth for 1-2 minutes | Wipe dry bugs immediately | Prevents abrasive scratching from hardened insect grit. |
| Use ph-neutral detergent & microfiber | Use paper towels, scrub pads, or window cleaner | Paper towels scratch; harsh chemicals damage coatings. |
| Dry with a clean microfiber cloth | Let it air-dry in direct sun | Heat can warp shell or liner adhesives; water spots etch finish. |
| Clean vents with compressed air can | Use high-pressure air compressor | High pressure forces dirt deeper into vent channels. |
Cleaning the Visor: The 10-Minute Rule
The visor is optical-grade polycarbonate with an anti-scratch coating. It’s also directly in your sightline, so any scratch or haze is a safety issue. The process is similar to the shell but with stricter rules on chemicals.
First, if possible, remove the visor. Cleaning it flat on a table provides more control and allows you to inspect the seal and pivots. If it’s a quick clean, at least open it fully.
The Shoei CNS-2 manual is the most detailed: clean with a solution of mild, neutral soap and water, rinse with pure water, and wipe dry with a soft cloth. It explicitly bans hot water over 40°C, salt water, acidic or alkali detergents, benzine, thinner, gasoline, glass cleaner, or any cleaner containing organic solvents.
Those solvents don’t just streak; they can chemically attack the polycarbonate, causing micro-crazing or degrading the anti-fog coating. The Suomy manual adds another warning: never expose the visor to heat to dry it. A hair dryer or hot car dash can warp the thin plastic.
The field wipe for gas stops: Keep a small spray bottle of water and a clean microfiber in a saddlebag. At your stop, spray the visor, wait for the bugs to soften, and gently wipe. It won’t be showroom clean, but it will clear your vision for the next leg without risking a scratch. This beats using a napkin or your shirt every time.
The Tools That Actually Work (And the Ones to Trash)
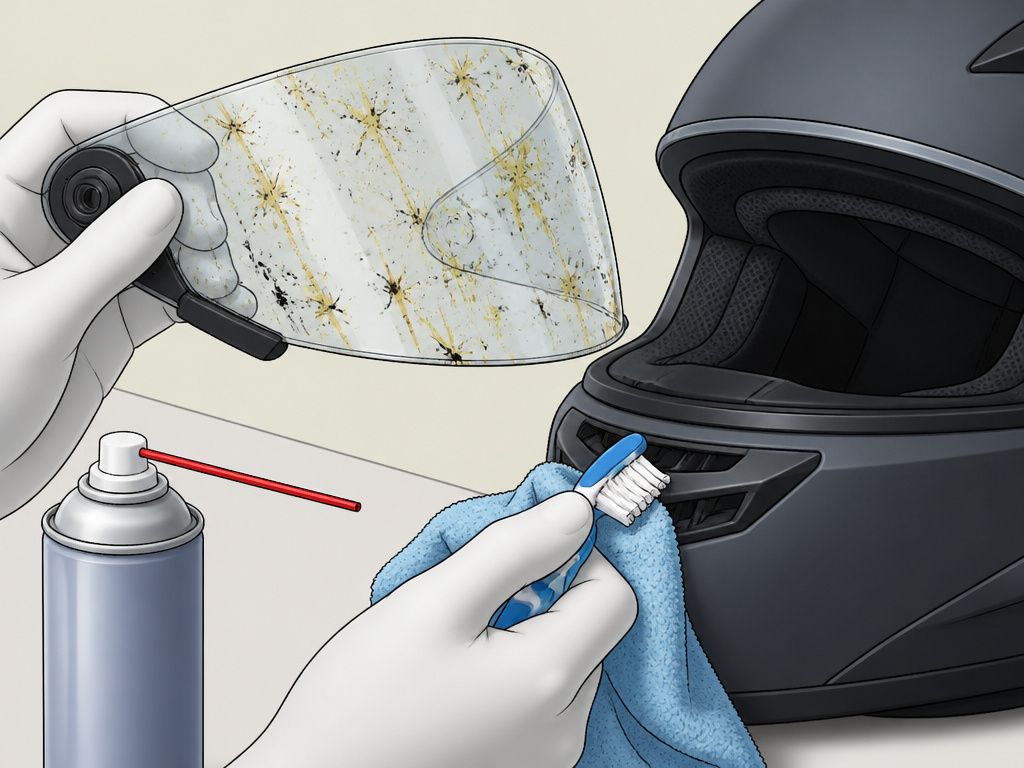
Your kitchen and garage are full of potential helmet-wreckers. Here’s the short list of what to use and what to lose.
- Microfiber cloths: Buy a pack of the cheap, plain ones. Use one for washing, a separate one for drying, and never use them on anything else. Toss them when they get gritty.
- Mild, ph-neutral detergent: Look for “pH balanced” or “neutral” on the label. Baby shampoo or plain liquid castile soap works. A drop is enough.
- Compressed air can for keyboards: This is the specific tool called out in the Sedici manual for cleaning vents. The short, controlled bursts dislodge dust and dead bugs without the force of a shop compressor, which could damage internal flaps.
- Soft-bristle toothbrush (optional): For caked-on grime around fixed vents or complex logos, a clean, soft toothbrush dipped in soapy water can help. Use very light pressure.
The trash list:
- Paper towels, napkins, shop rags: Their fibers are abrasive enough to scratch polycarbonate and paint.
- Automotive bug/tar remover, brake cleaner, WD-40: These are powerful solvents designed for car paint. They can dissolve helmet clear coats and visor coatings.
- Glass cleaner with ammonia: Ammonia can cloud polycarbonate visors.
- Scrub pads (even the “soft” side of a sponge): Too abrasive.
Handling Matte Finishes, Vents, and Non-Removable Liners
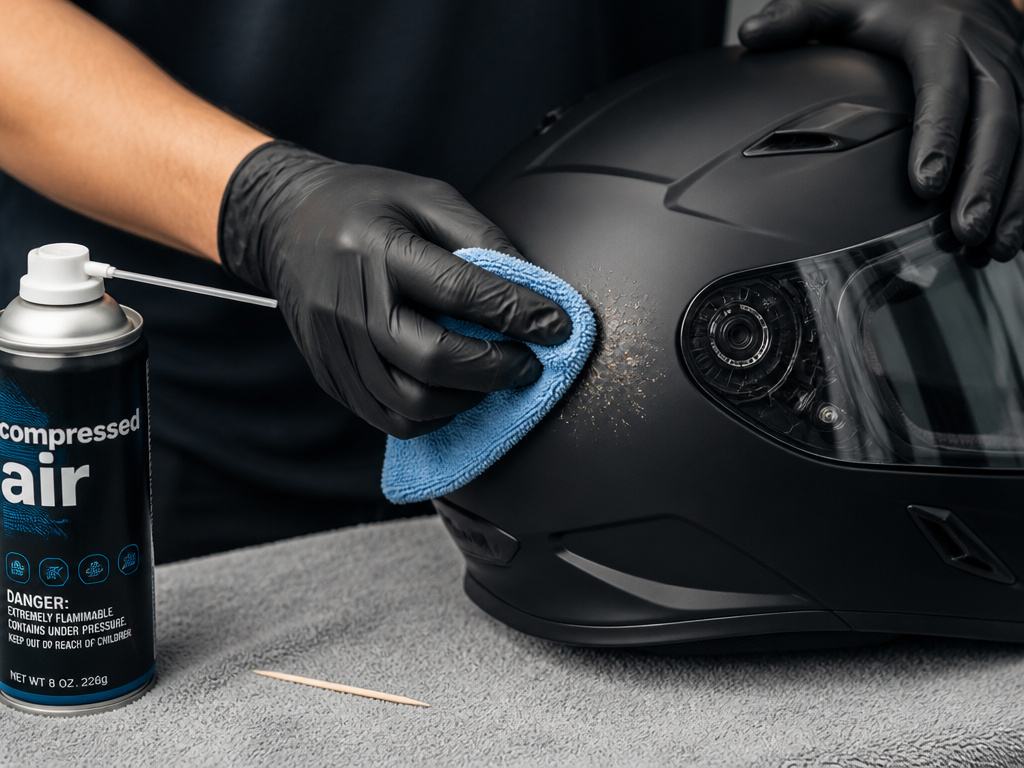
Not all helmet surfaces play by the same rules. A one-size-fits-all technique here will leave you with a shiny patch on your matte black lid or a clogged vent.
Matte/Non-Gloss Finishes: The Sedici manual has a specific warning: “Excessive pressure, using other cleaning agents, waxes or polish may alter the finish to look wet or glossy.” The porous texture of a matte finish traps contaminants differently.
- Blot, don’t rub. Use a dabbing motion with your damp microfiber to lift bugs away.
- Avoid any “shining” products. Never use wax, polish, or armor-all. If you need a dedicated cleaner, test it on the inside of the chin curtain first.
Cleaning Vents: Dirt and bugs clog vent slides and reduce airflow. The safest method is the compressed air can. Hold the helmet upside down and shoot short bursts into the vents to eject debris outward. For stubborn gunk, a toothpick can gently pry it loose, but never metal tools.
Non-Removable Liners (if splatter got inside): This is a delicate operation. The Sedici manual warns that improper cleaning may damage the adhesives. The guidance is to gently hand wash the affected area with a cleaner designed for helmet liners or mild hair shampoo, then thoroughly rinse any cleaning agent. Press very softly, don’t scrub, and blot dry. Never apply heat.
The Gas-Stop Emergency Wipe (When You Can’t Do a Full Clean)
You’re three hours from home, your visor is a bug cemetery, and you need to see. The full wash isn’t happening, but a safe field clean is.
- Park in the shade. Heat makes bugs set harder. If you can’t find shade, drape your helmet with a towel while you prep.
- Wet your cloth. Use your water bottle to soak a section of your clean microfiber. Wring it out so it’s damp, not dripping.
- Drape and wait. Lay the damp section over the worst part of the visor or shell. Give it time to soak, set a timer on your phone if needed.
- Wipe gently. Use a dry section of the same cloth to wipe the softened bugs away. Use a fresh corner for each pass.
- Inspect. If residue remains, repeat. Do not press harder.
This takes five minutes and uses zero specialized products. It’s the difference between arriving with a clear view and gambling with scratches for the rest of the trip.
How to remove helmet interior and electronics before cleaning
Before you start cleaning, take out anything that can be removed. This means pulling out the interior liner pads if they are designed to come out. For helmets with built-in communication systems or other electronics, check the manufacturer’s instructions for how to safely detach the components. Typically, this involves unplugging wires or releasing clips. Never submerge electronic units in water or cleaning solutions. Once the soft parts and electronics are out, you can focus on cleaning the helmet shell and the removable pieces separately. This prevents moisture from getting into sensitive areas and allows for a more thorough clean without risking damage to padding or circuitry.
Frequently Asked Questions
Can I use Dawn dish soap to clean my motorcycle helmet?
Maybe, but it’s not ideal. Most dish soaps, including Dawn, are detergents designed to cut grease and can be slightly alkaline. Brands like OGK Kabuto and Shoei specifically recommend a ph-neutral detergent. A pH-neutral option like baby shampoo or a dedicated helmet cleaner is safer for long-term use on delicate coatings and visors.
What is the best bug remover for motorcycle helmets?
The best bug remover is patience and water. While there are commercial “bug slide” products, many are formulated for automotive paint. Their safety on helmet finishes is not guaranteed. If you use one, test it on an inconspicuous area first, like the inside of the neck roll, and follow the helmet manufacturer’s guidance. Often, the simpler, safer method is the one in the manual: mild soap and water.
Will rubbing alcohol remove bugs from a helmet?
Do not use rubbing alcohol. The Suomy manual explicitly says never to use solvents, alcohol, or fuels on the visor. Alcohol is a strong solvent that can degrade the anti-scratch and anti-fog coatings on your visor, leading to permanent hazing or cloudiness. It can also dull the shell’s clear coat.
How do I clean bugs off a helmet visor without scratching it?
Remove the visor if possible. Soak the bugs by laying a wet microfiber cloth over them for two minutes. Then, wipe gently with a solution of mild, ph-neutral soap and water using a second clean microfiber. Rinse with plain water and dry immediately with a third dry cloth. Never use paper towels, your fingernail, or a credit card to scrape.
Can bug splatter damage the helmet shell?
Yes, if left for extended periods, especially in the sun. As it bakes on, it can etch into the clear coat, leaving a permanent stain or dull spot even after the bug is removed. The acidic composition of some insect bodies can also, over a long time, degrade certain paints or coatings. Regular cleaning after rides prevents this.
The Bottom Line
Cleaning bug splatter is a test of patience, not strength. The rule is universal: soften first, wipe second. Keep a spray bottle and microfiber in your gear for quick stops, and at home, respect the manufacturer’s limits on temperature and chemicals. A helmet is a safety device first, and a clear, unscratched visor is part of that safety equation.
If you remember one thing, make it this: never wipe a dry bug. That single mistake causes more cosmetic damage than any other. Everything else, the soap type, the water temperature, the cloth, is just optimization. Do the first thing right, and the rest is maintenance.
